|
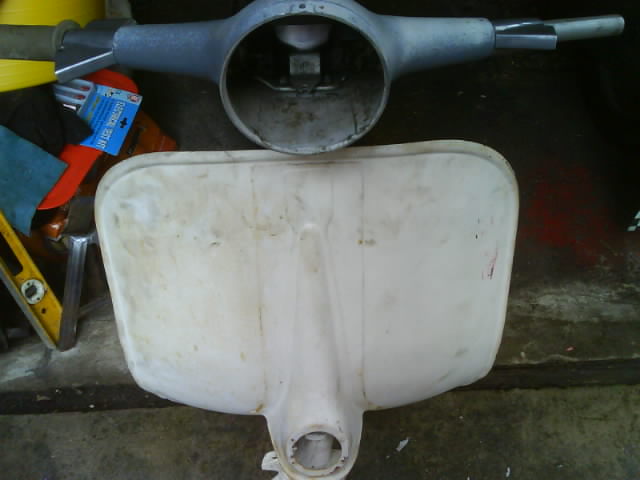
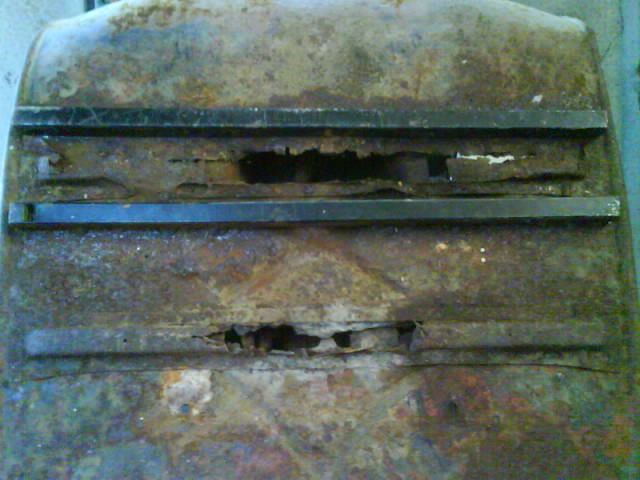
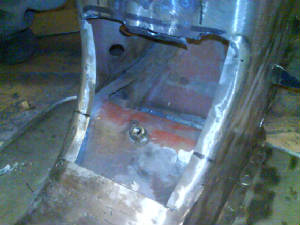
| OLD FLOOR CUT OUT |
|
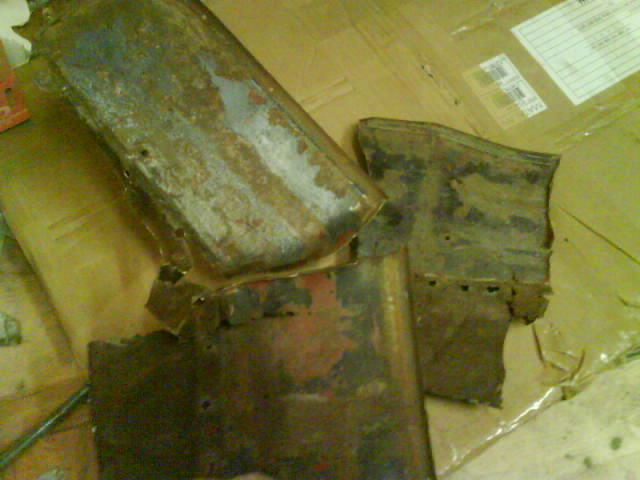
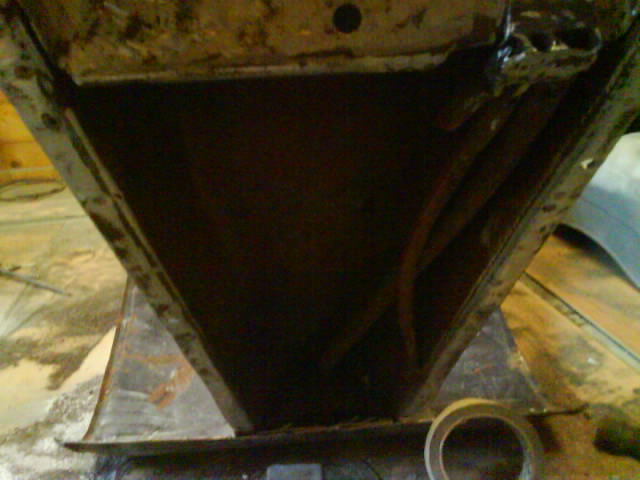
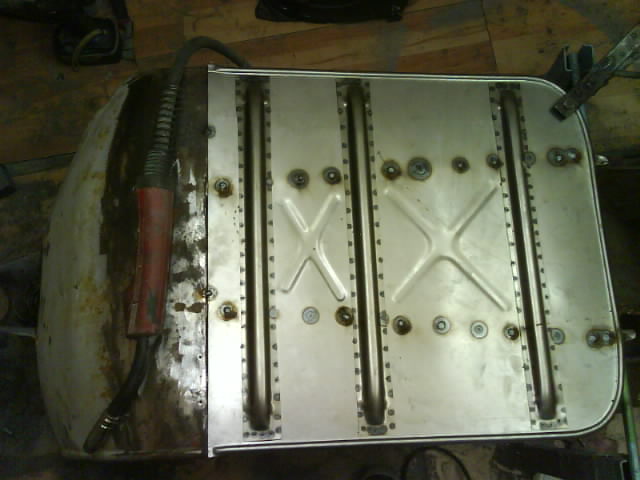
| NEW FLOOR SPOT WELDED IN |
|
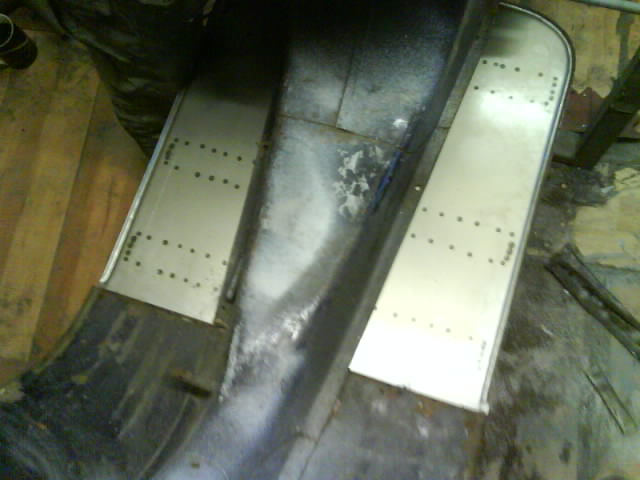
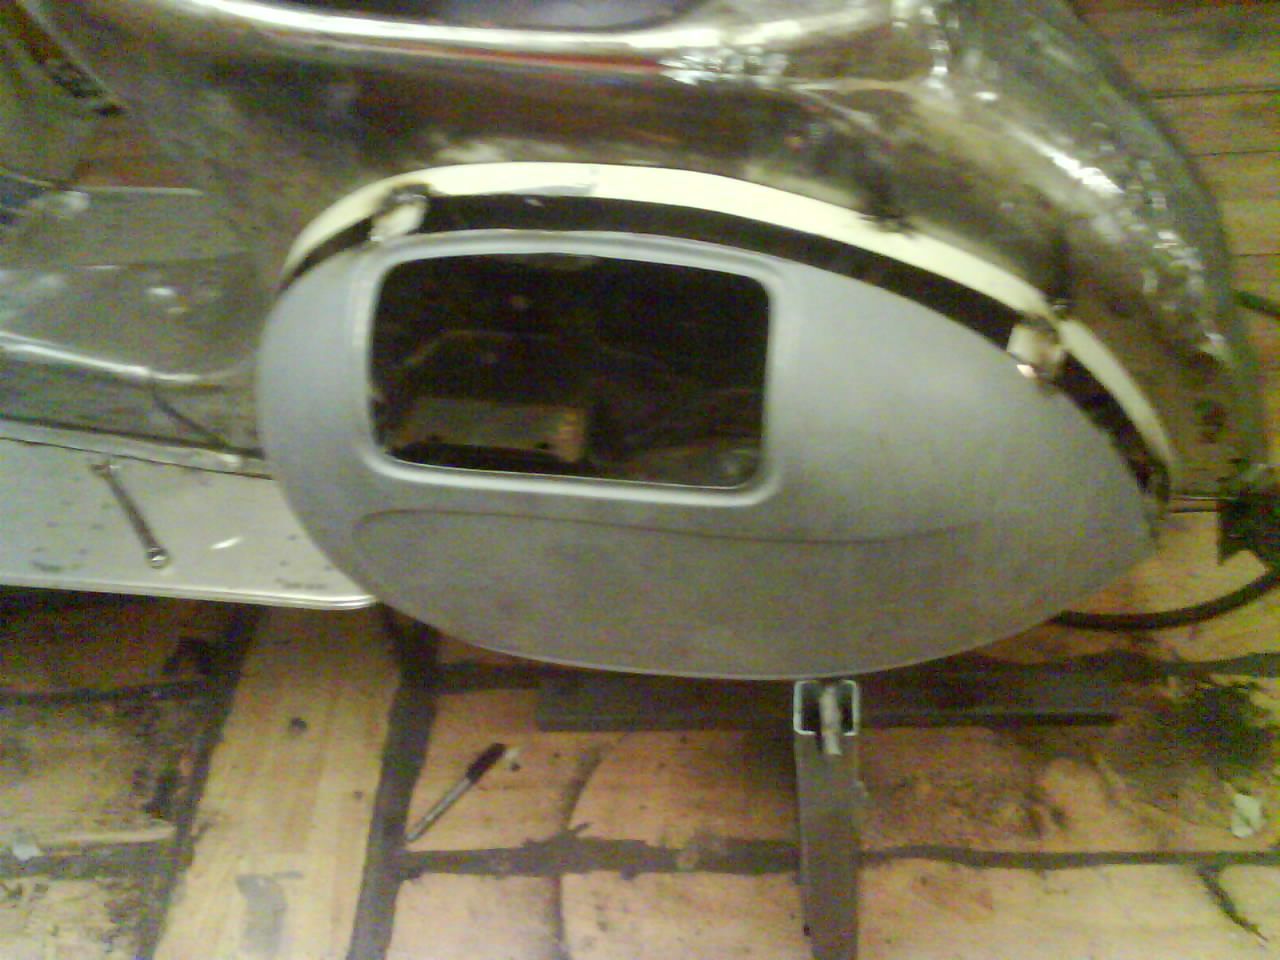
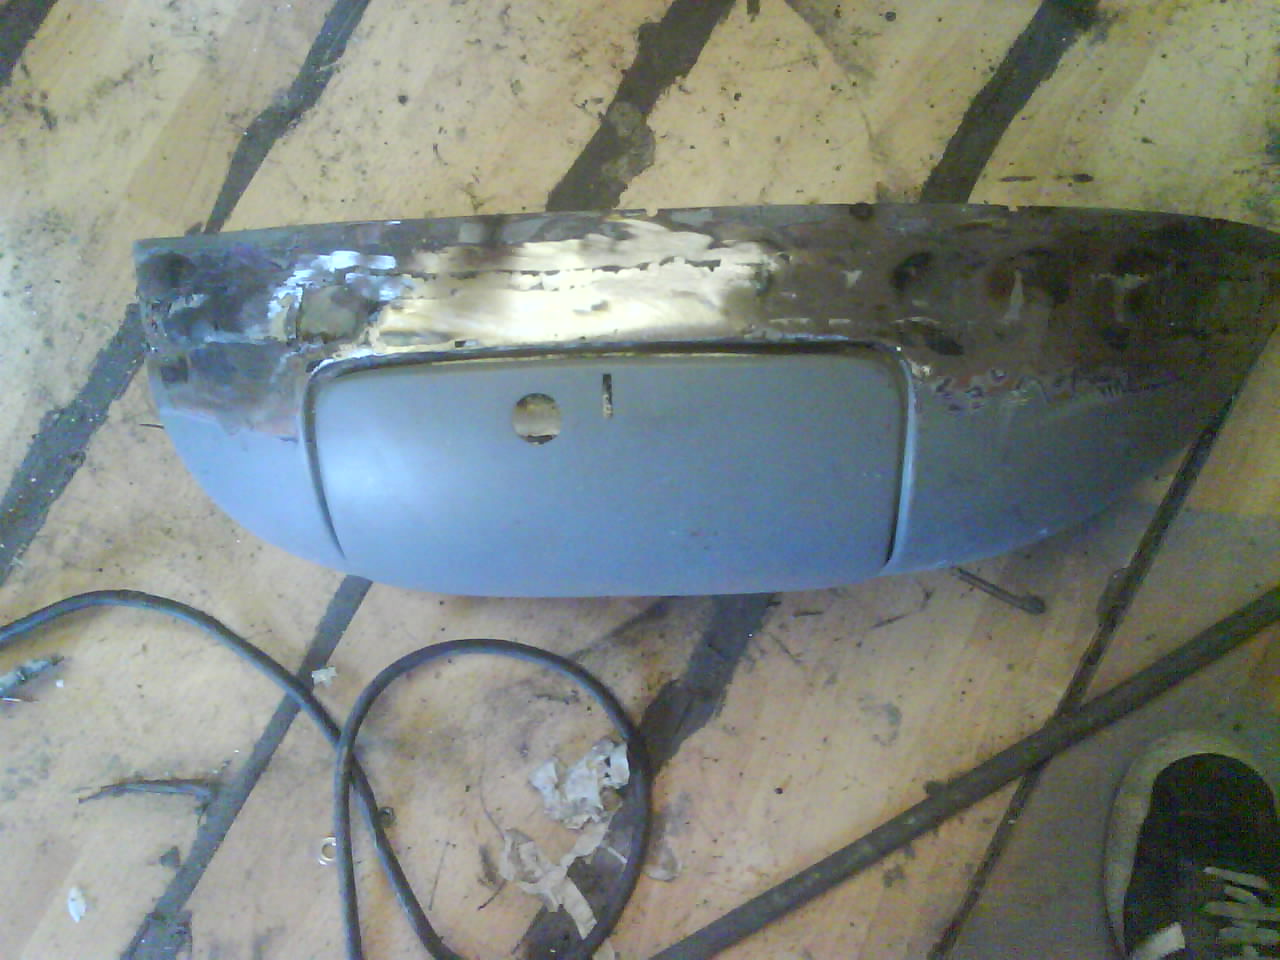
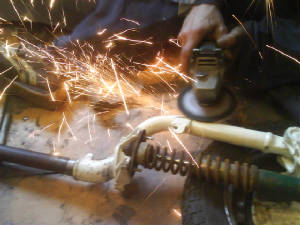
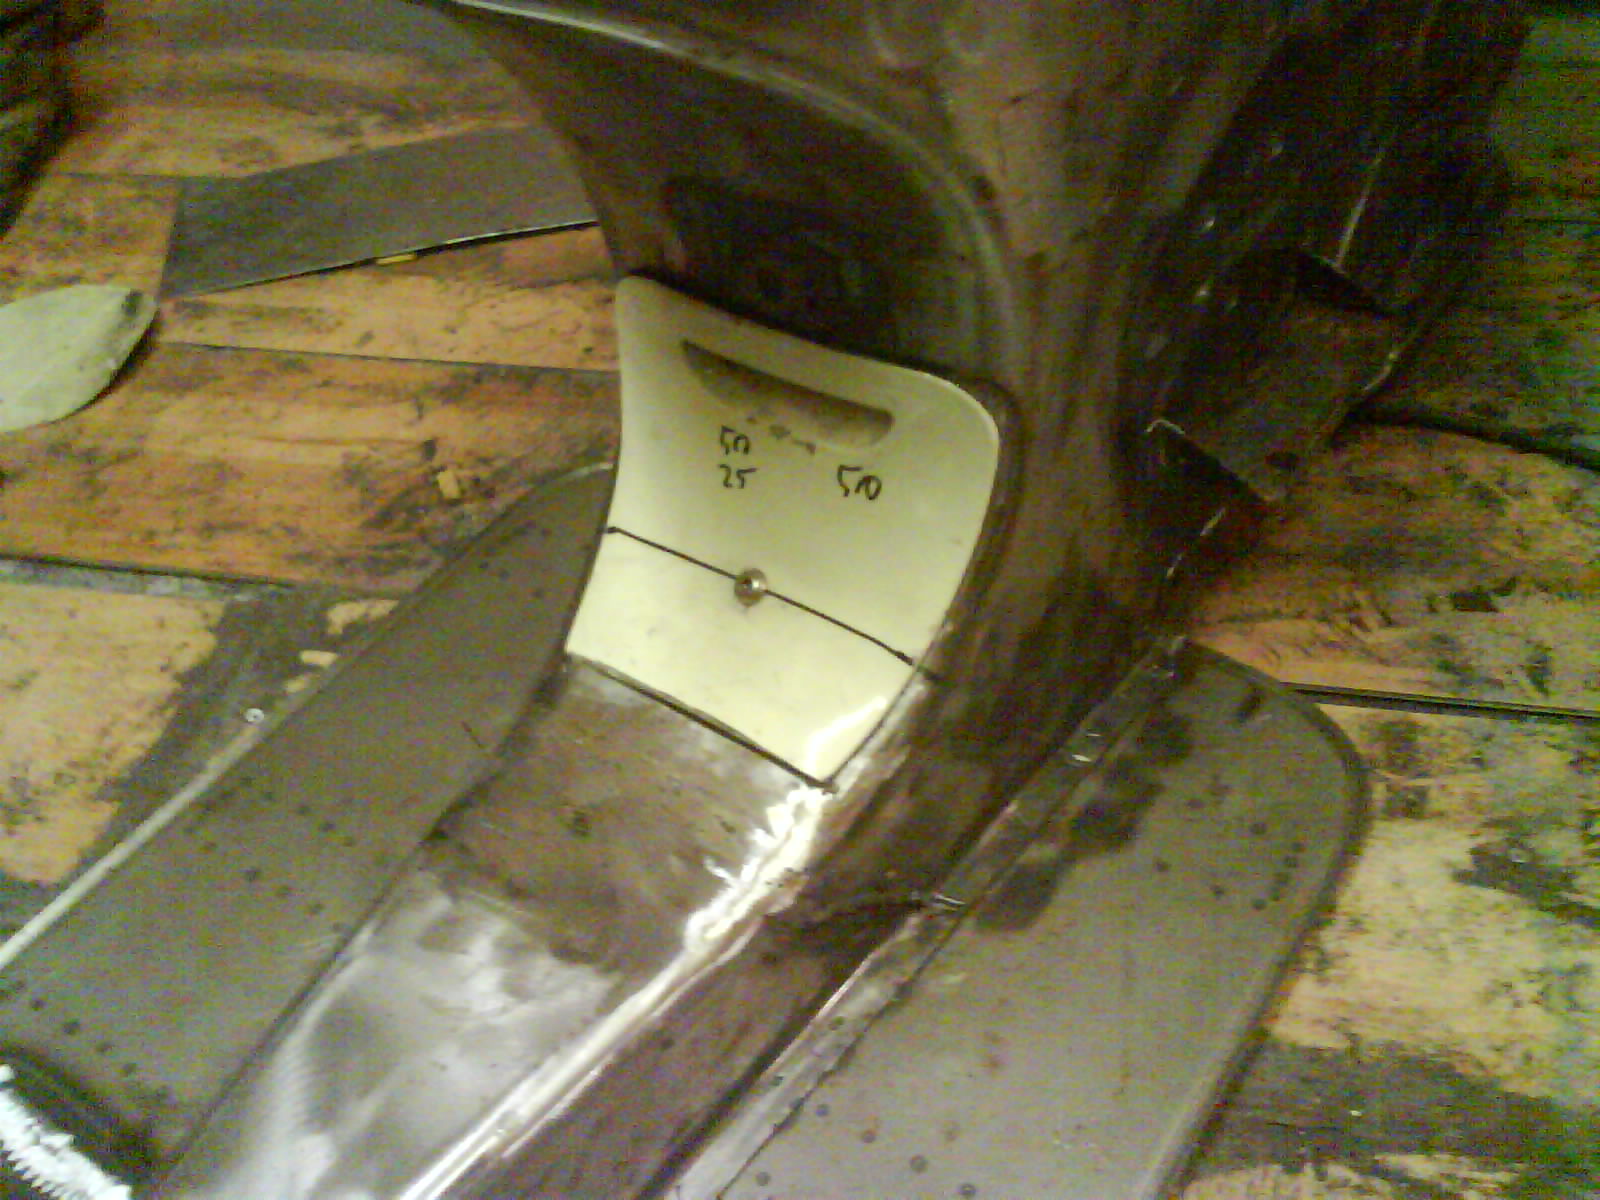
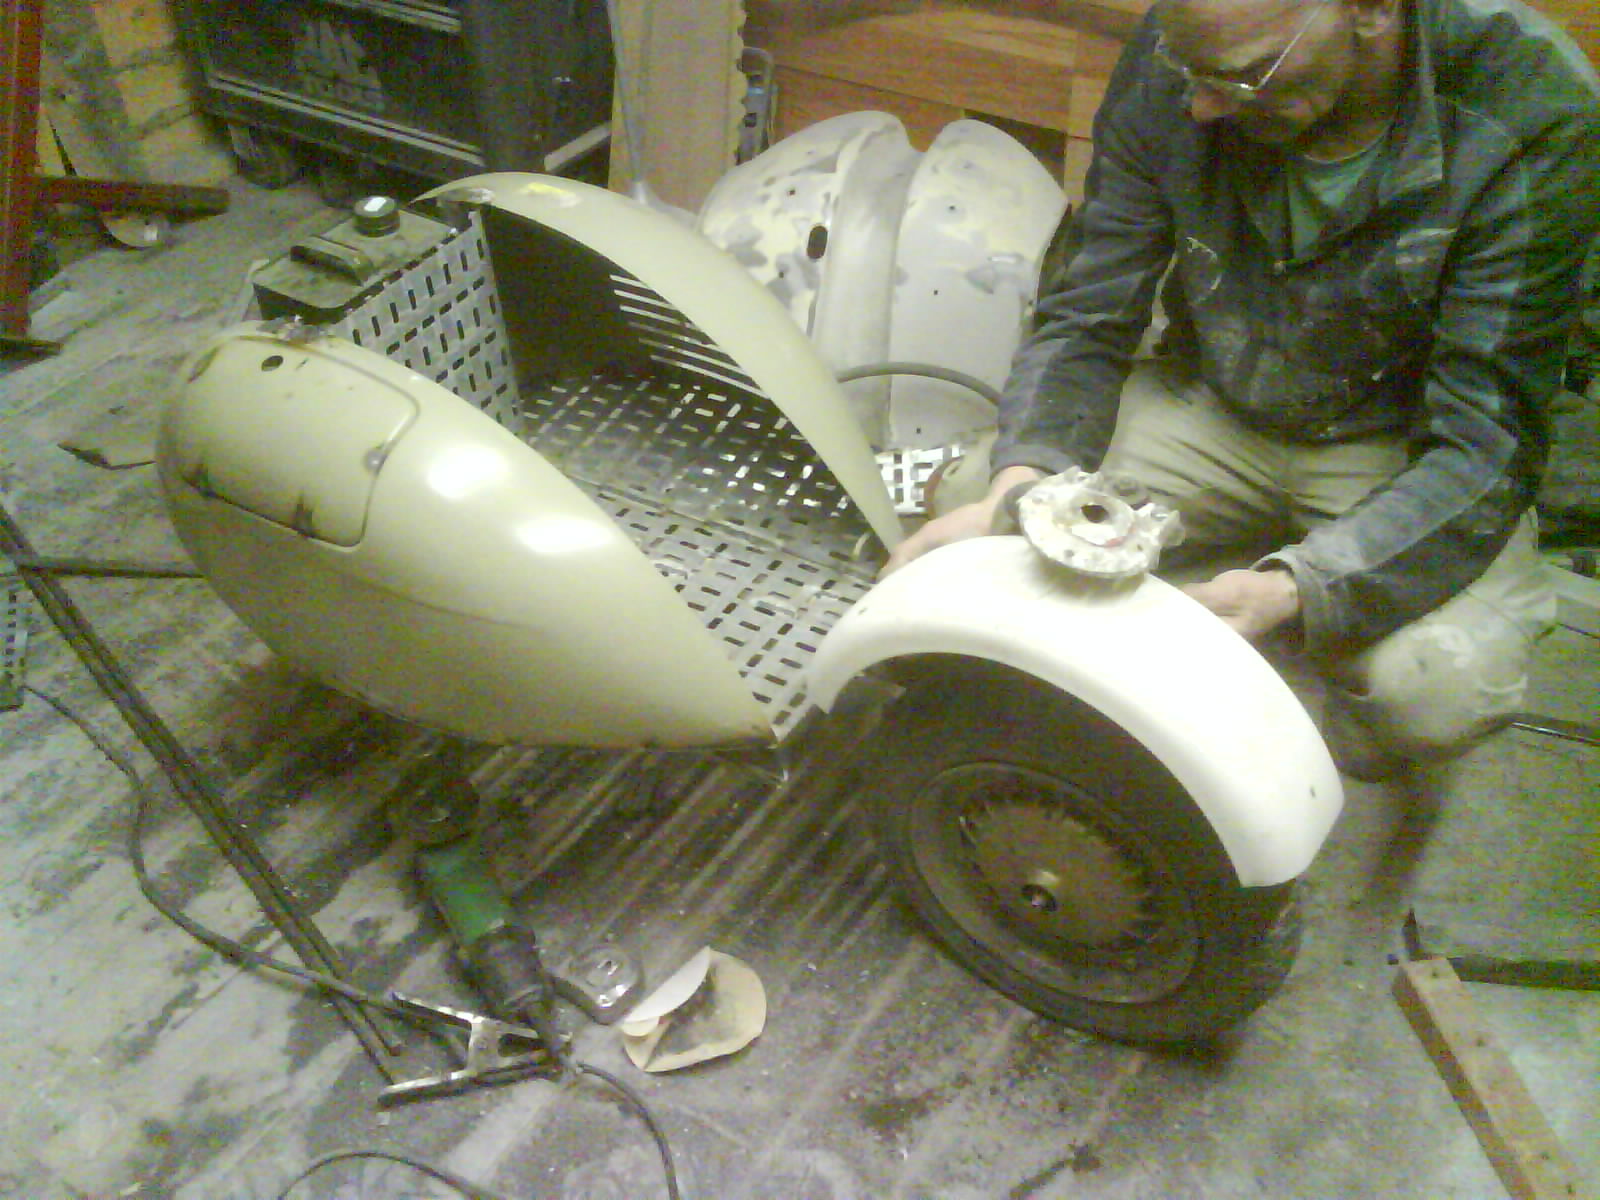
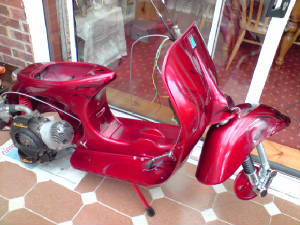
I decided to make the scoot a bit wider and have it de-seamed for a more 50's look. A plate was
welded right down the back of all the seams and then the seams were ground off and filled with weld. The panels were cut right
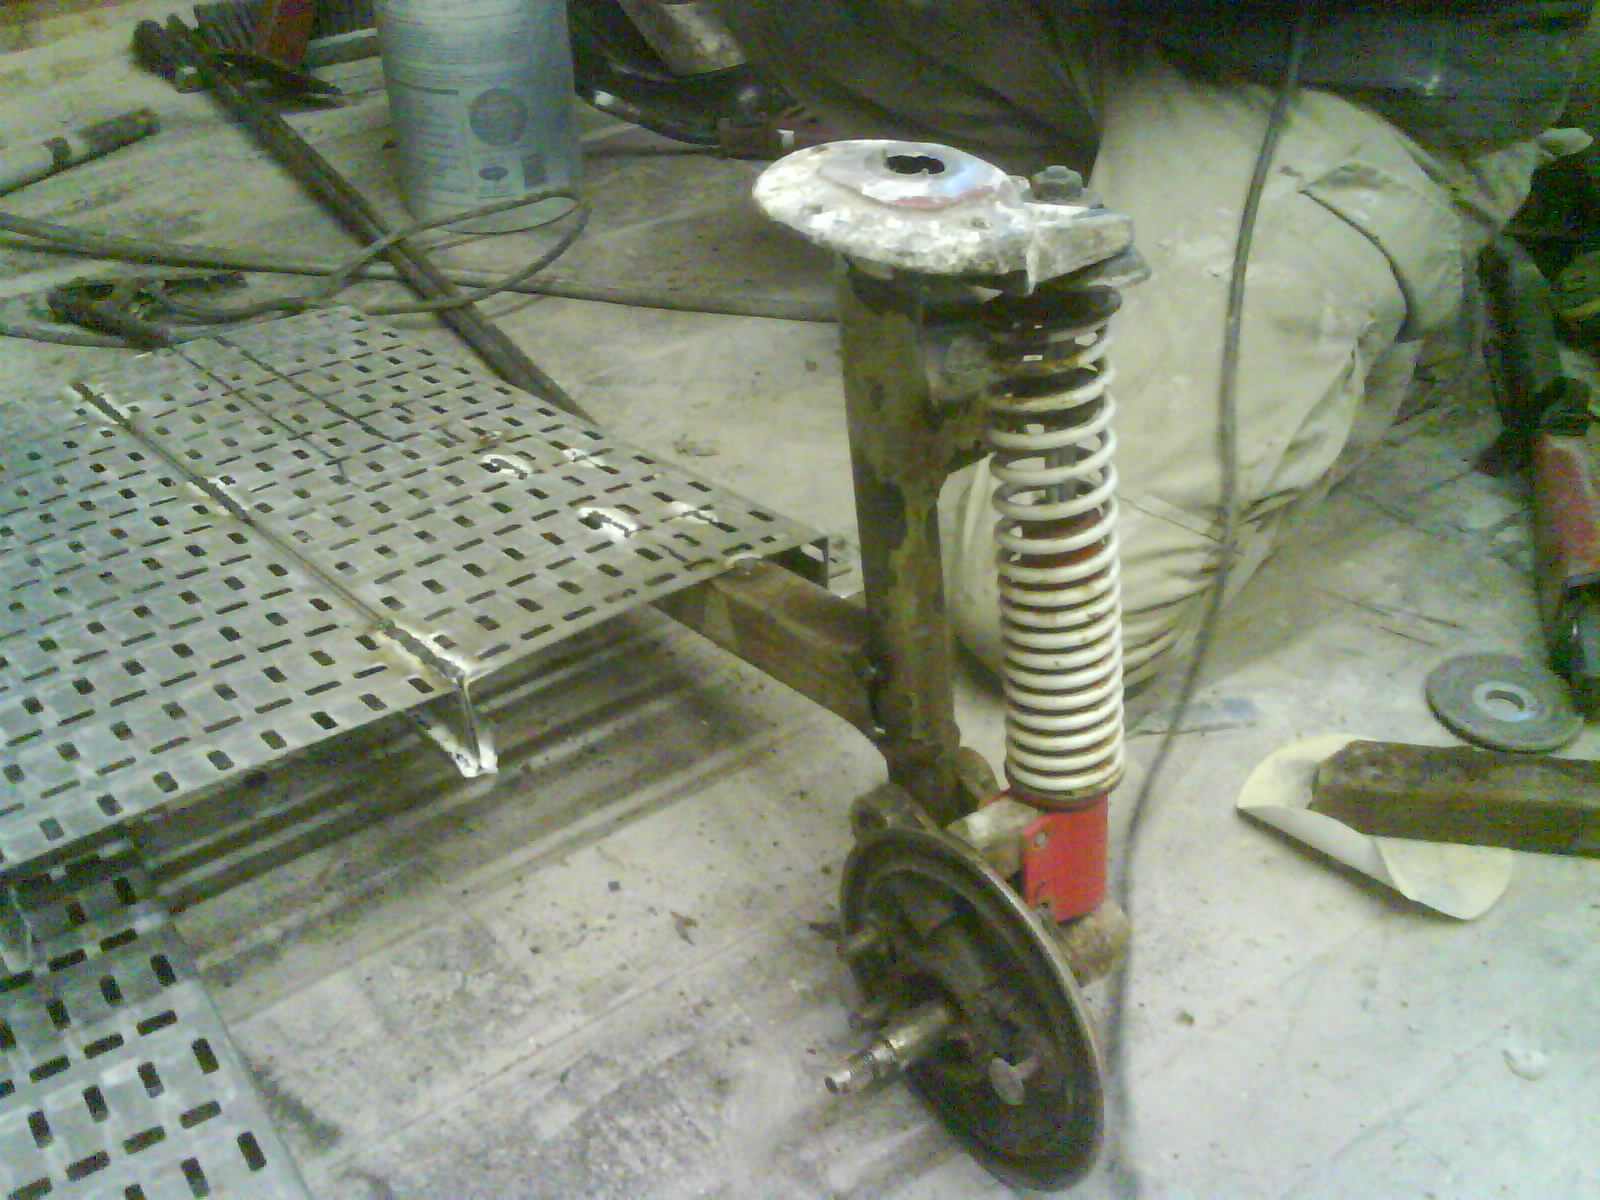
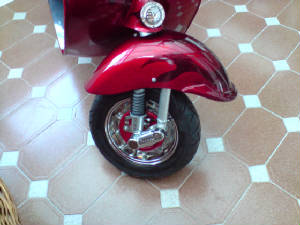
round and some 25mm spacers tacked in, the panels were trued up and will then be plated. The steering stops have been cut
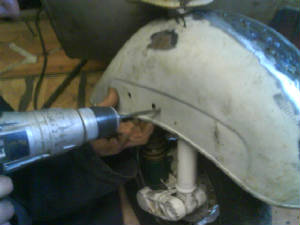
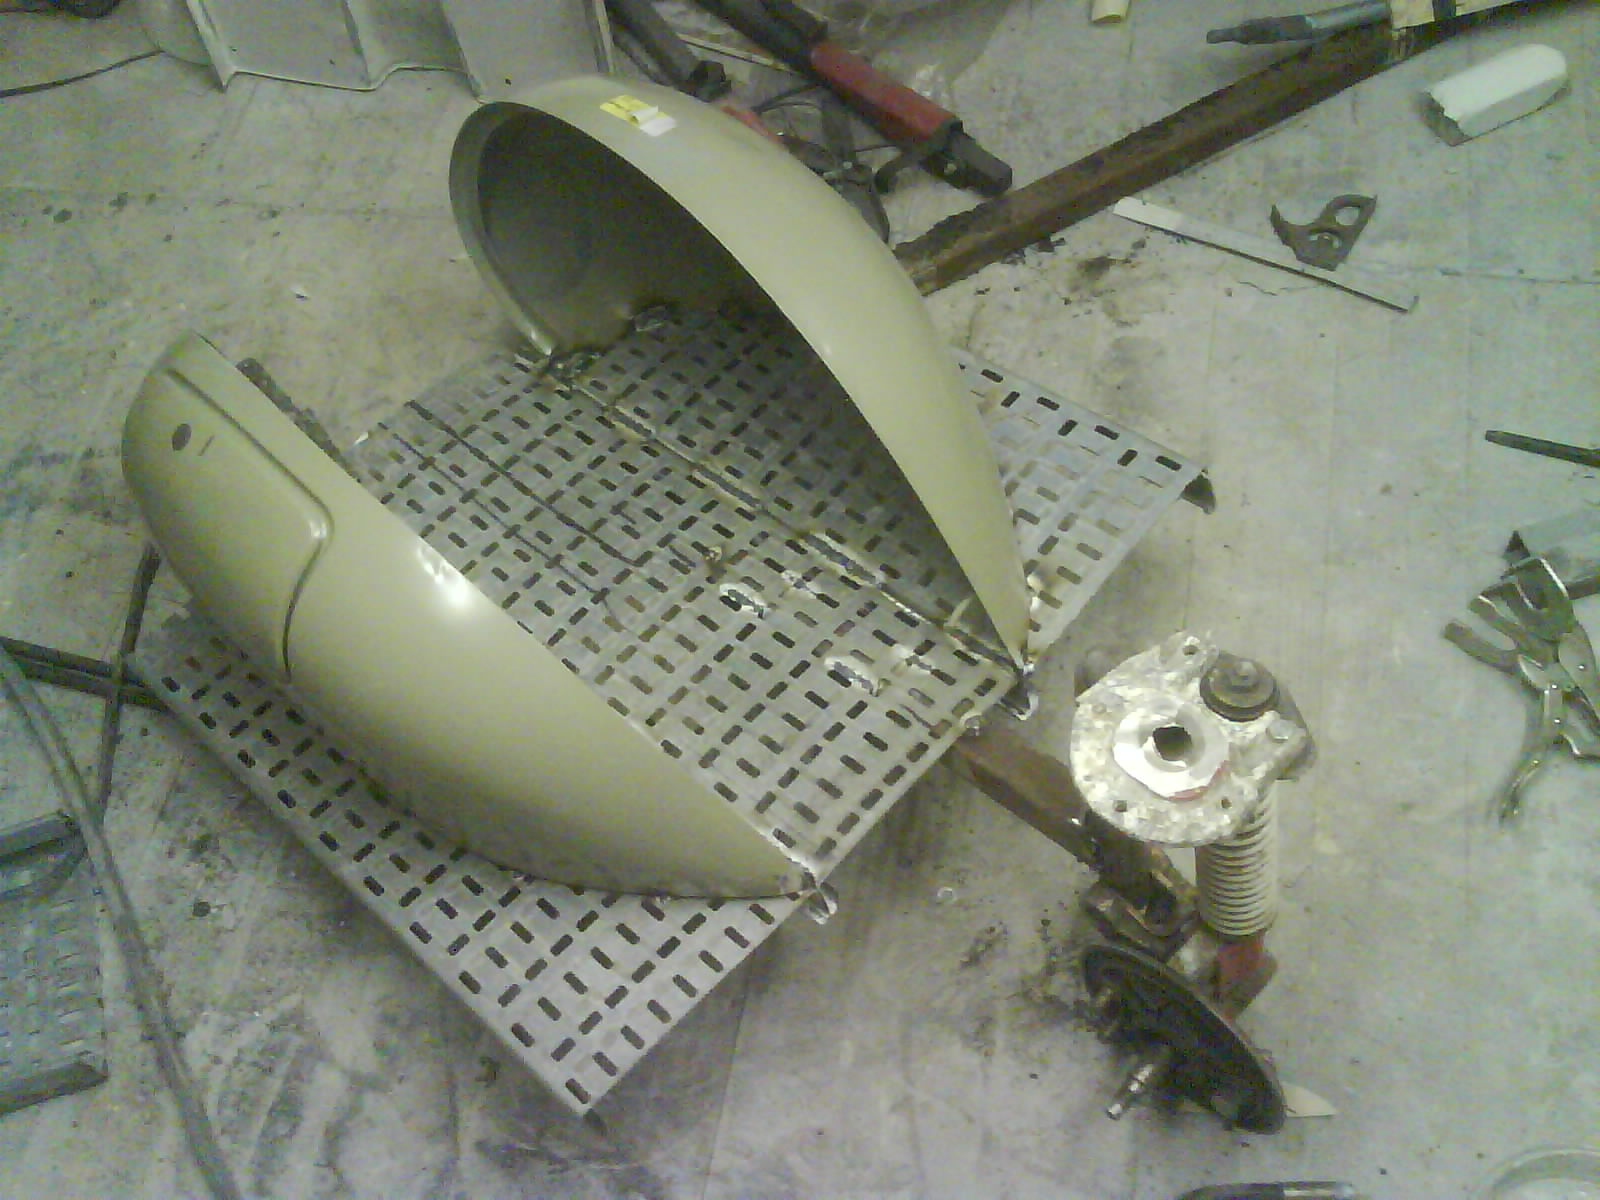
off and new ones welded on to accept pk forks with 10" wheels, also better brakes and suspension. The mudguard will be reprofiled
to fit the new forks but still retain a vintage look.
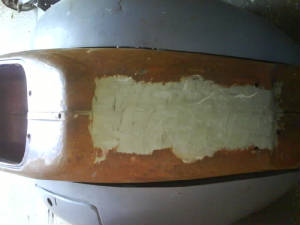
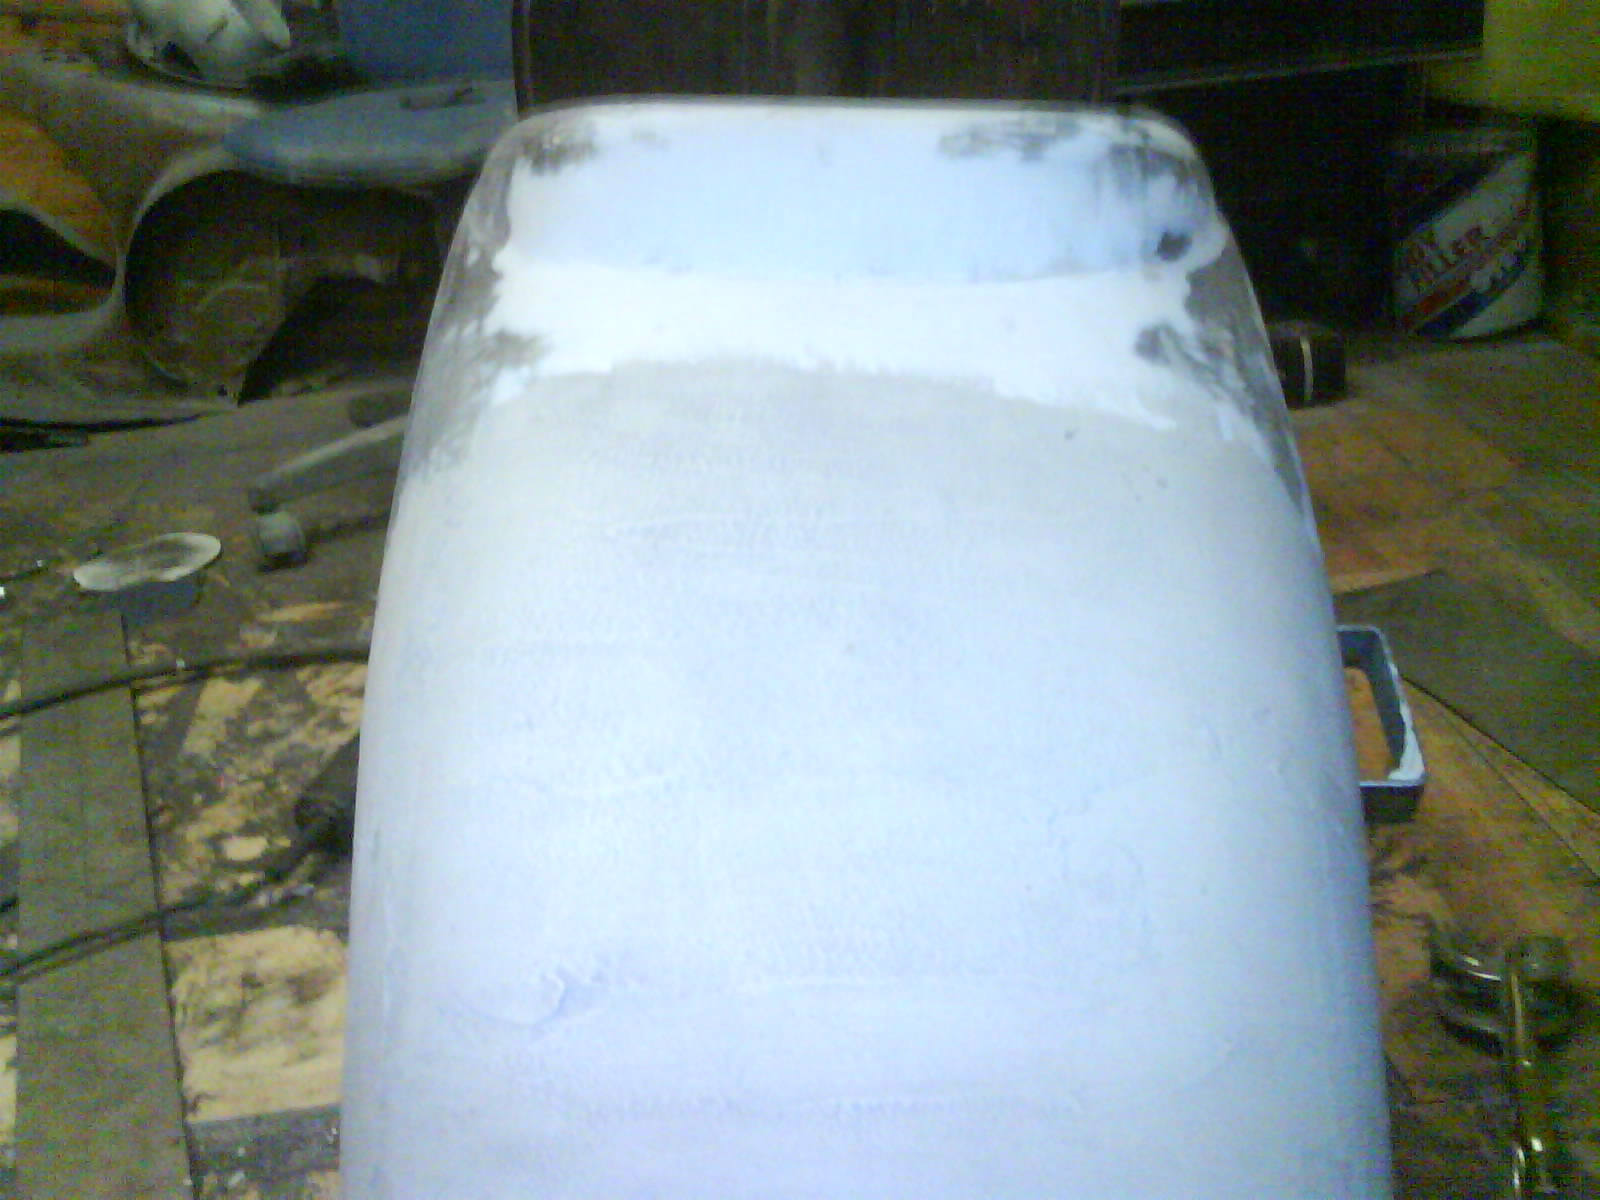
| Rear with filler removed, rewelded and deseamed |
|
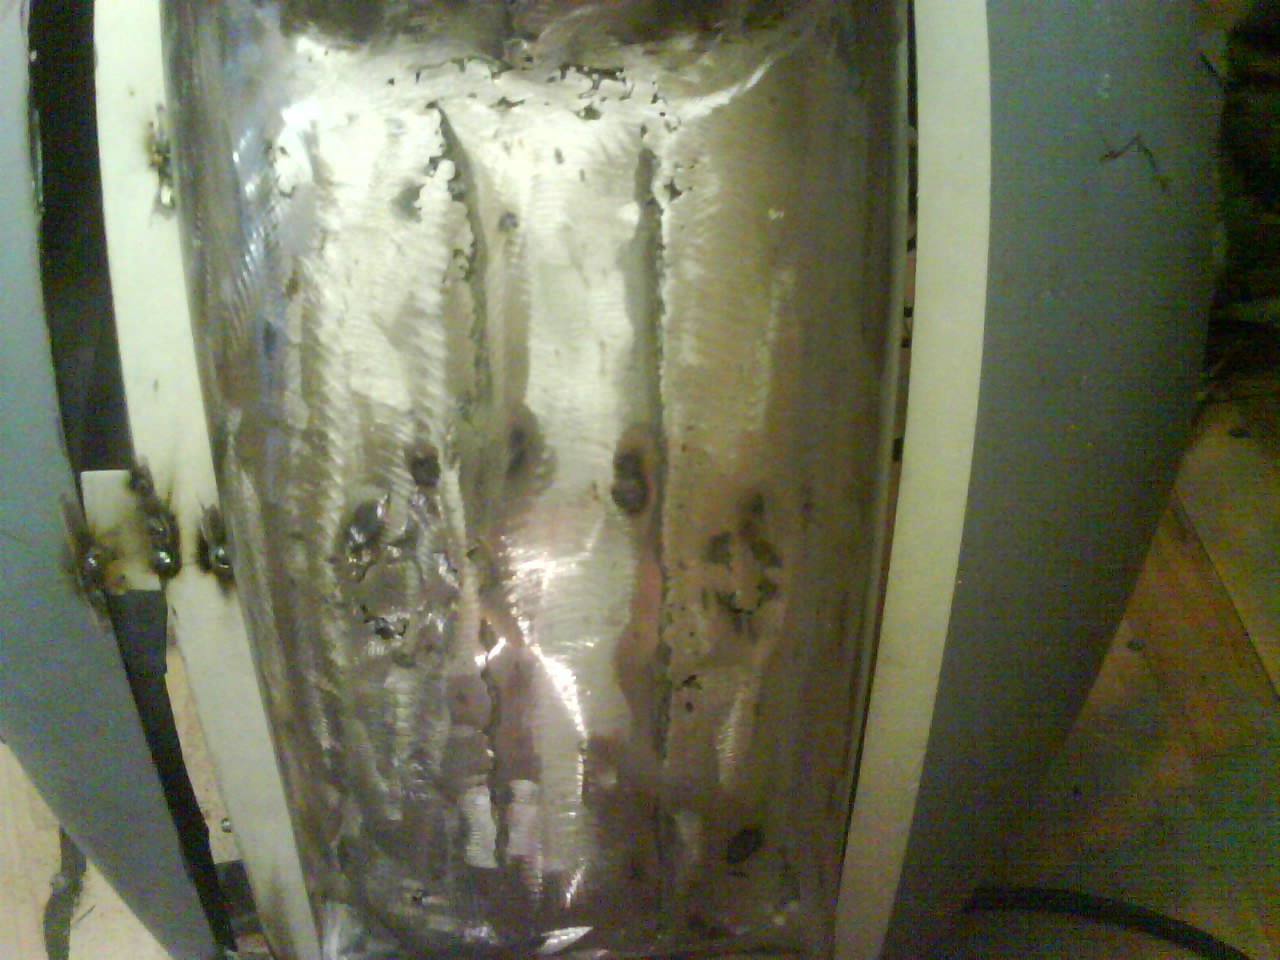
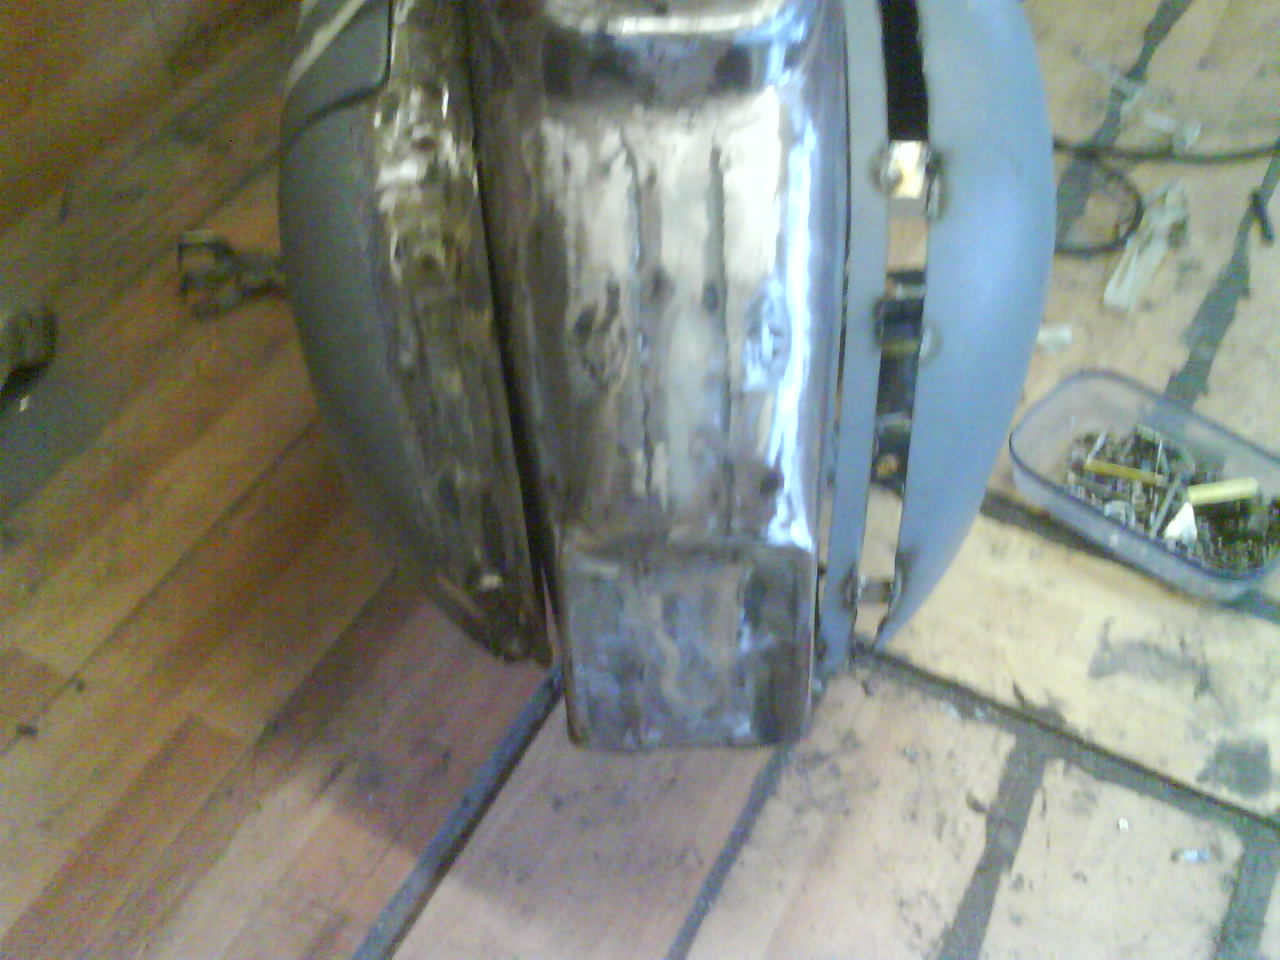
| Panel cut and spaced ready for re -welding |
|
| Panel is now 25mm wider! |
|
| 1 panel done, the other 1 cut ready for welding |
|
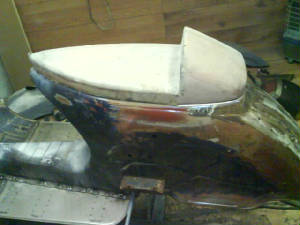
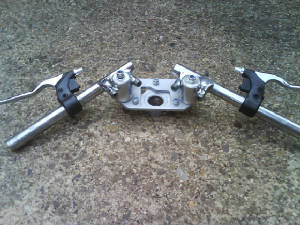
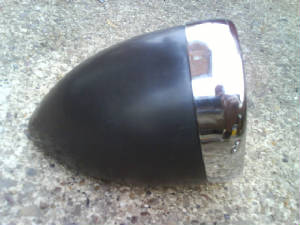
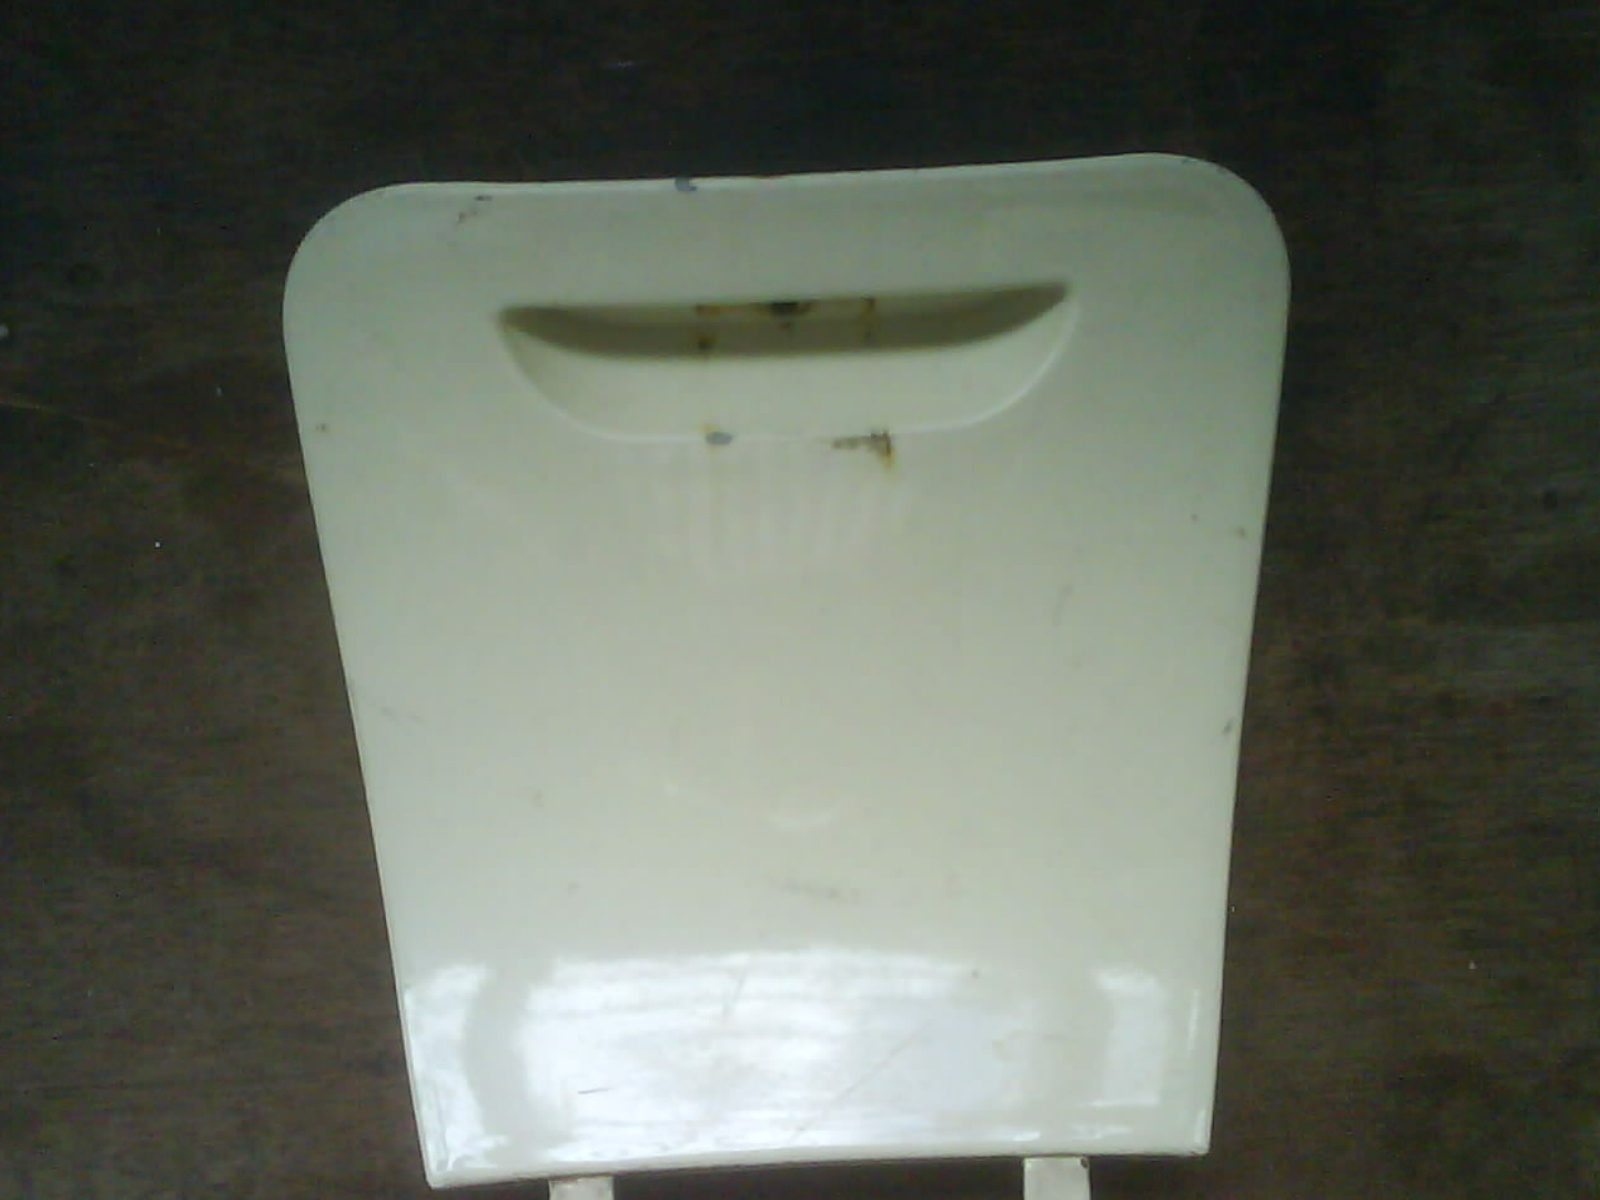
For a more sporty look, I'm going for a fibreglass racing seat and chrome drop handlebars, the headlight
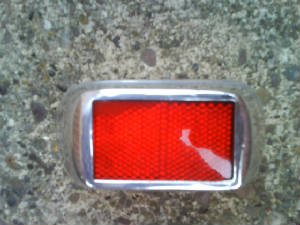
will be mounted on the mudguard like on the old 40's and 50's fenderlight models and I've also picked up a 1950's backlight.
I'm aiming for a reasonably fast, sporty looking scooter which still retains a bit of 1950's/60's character!
| One off fibreglass race seat by Tim |
|
| Drops £8, parts fair! Levers £4, autojumble! |
|
| Fender light £14.99 from Ebay! |
|
| Remade 1950's back light £14.99, again from ebay! |
|
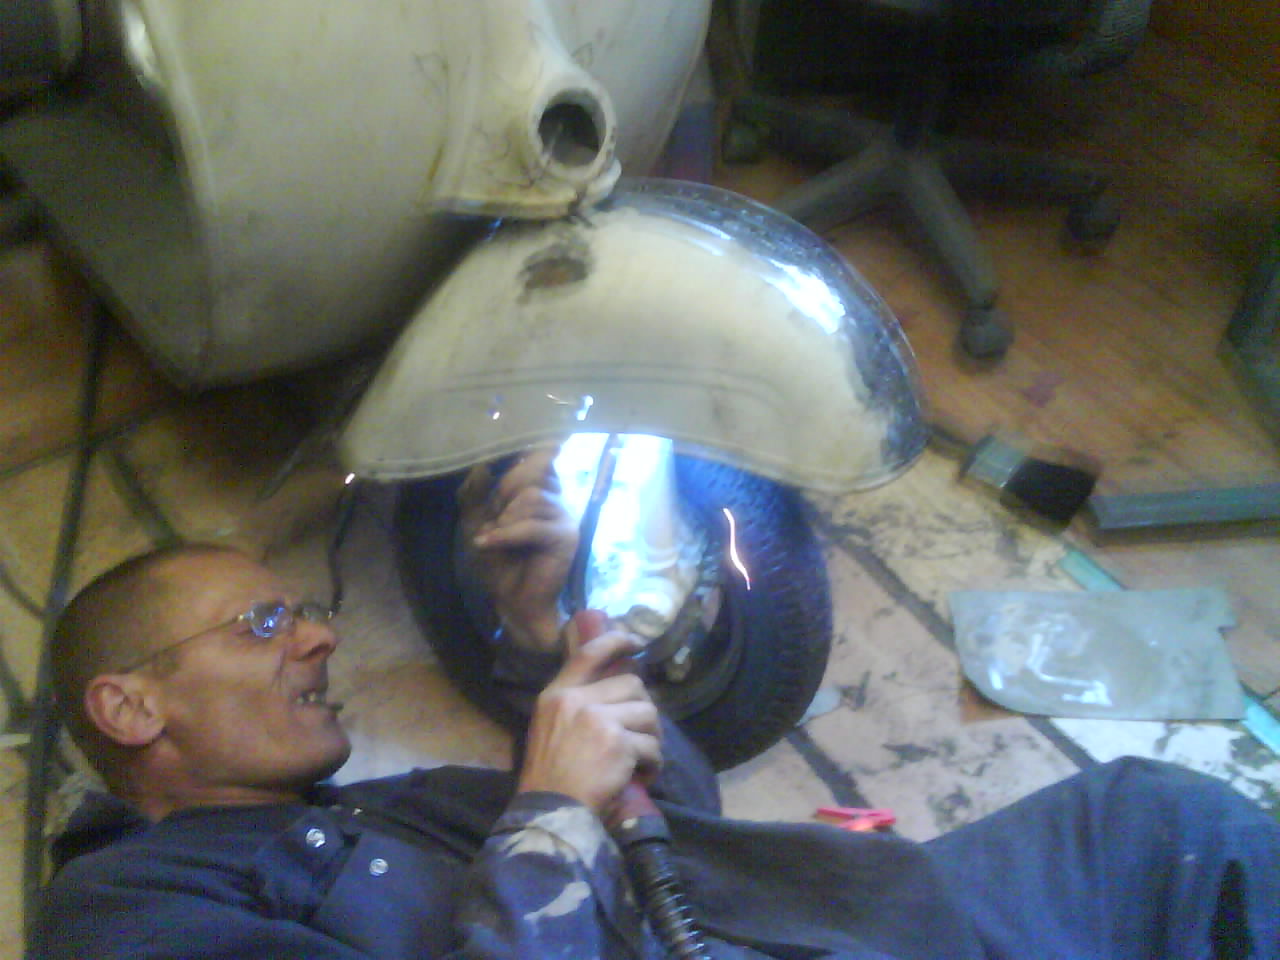
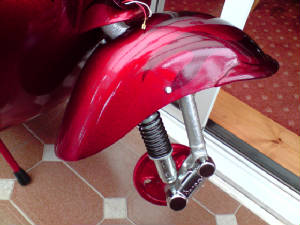
| The mudguard has been chopped to fit the Pk forks |
|
| Mudguard bracket being chopped off |
|
| Tim rewelding the mudguard bracket! |
|
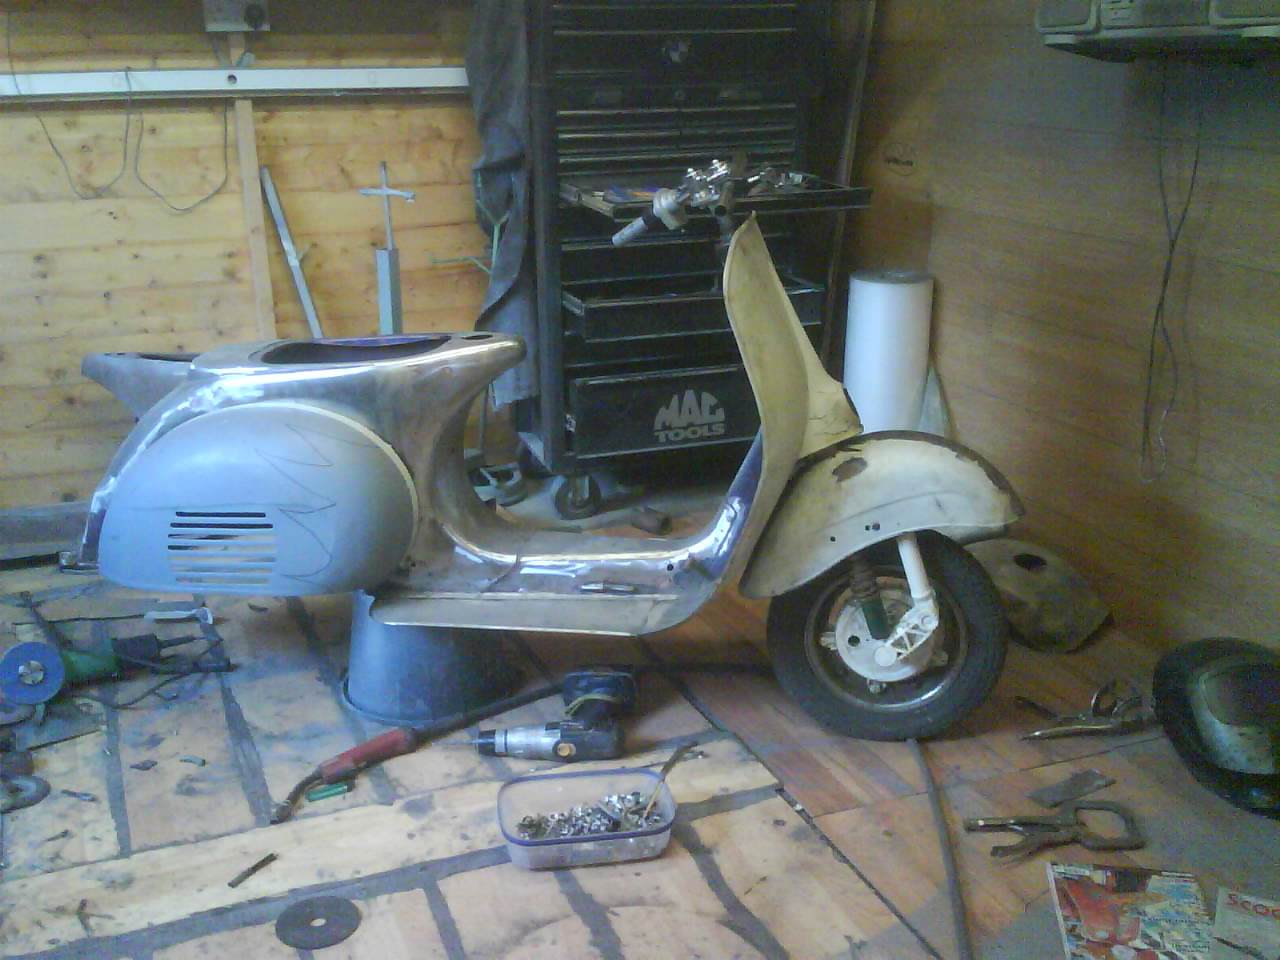
| Dry build! Mudguard fits ok! |
|
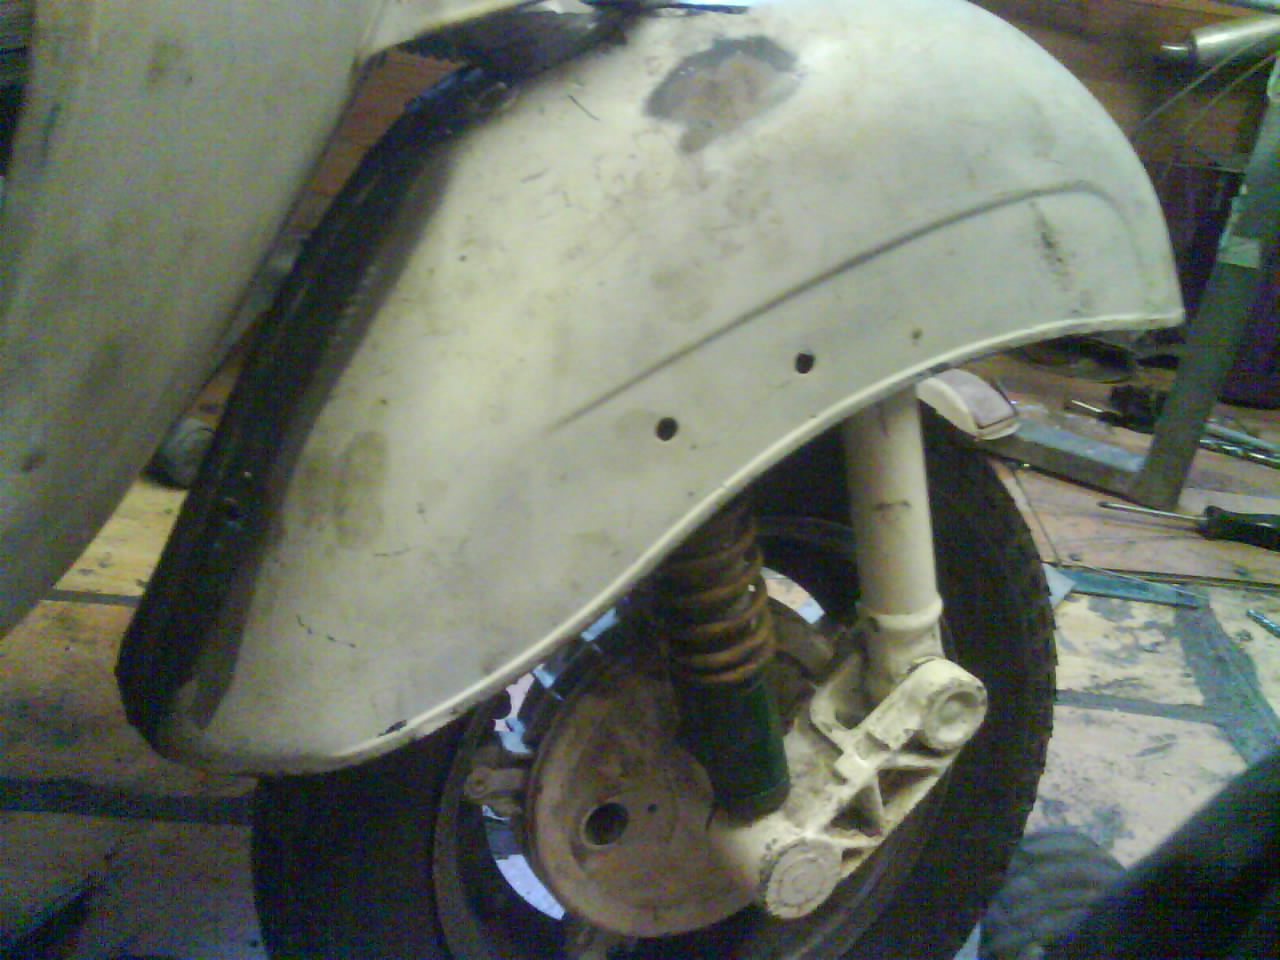
It's looking a bit tatty at the moment but its coming along slowly but surely, most of the cutting
and welding is now done, the second panel is cut and jigged ready for plating and the mudguard is de-seamed but needs a bit
of strengthening round the mounting hole. The next stage then will be stripping the rest of the old paint off with a flap
wheel, then giving it all a couple of coats of acid etch primer prior to filling and blending it all, this will give
a better idea of how it will look when its finished. After filling and blending it will be primered, topcoated then given
a coat of metalflake before a few coats of laquer! The colours not decided yet but I've got one or two ideas! There
are also a few one off stainless steel bits in the pipeline such as an inline spare wheel holder, rear bumper, floor
runners and a mounting plate for a digital speedo to name but a few! Watch this space!
| Trying the drop bars! Looking good! |

|
Due to holiday and work commitments, the project ground
to a halt for a few weeks but is now back in progress, slowly but surely! I saw a door from a vespa ET2/4 on ebay so bought
it for 99p, Tim was thrilled as the frame needed chopping to make it fit! It's fitted ok now though as you can see from the
pictures.
| ET2 door Ebay 99p +p/p BARGAIN!! |
|
| Frame chopped and welded to accept door. |
|
| Door fitted! |
|
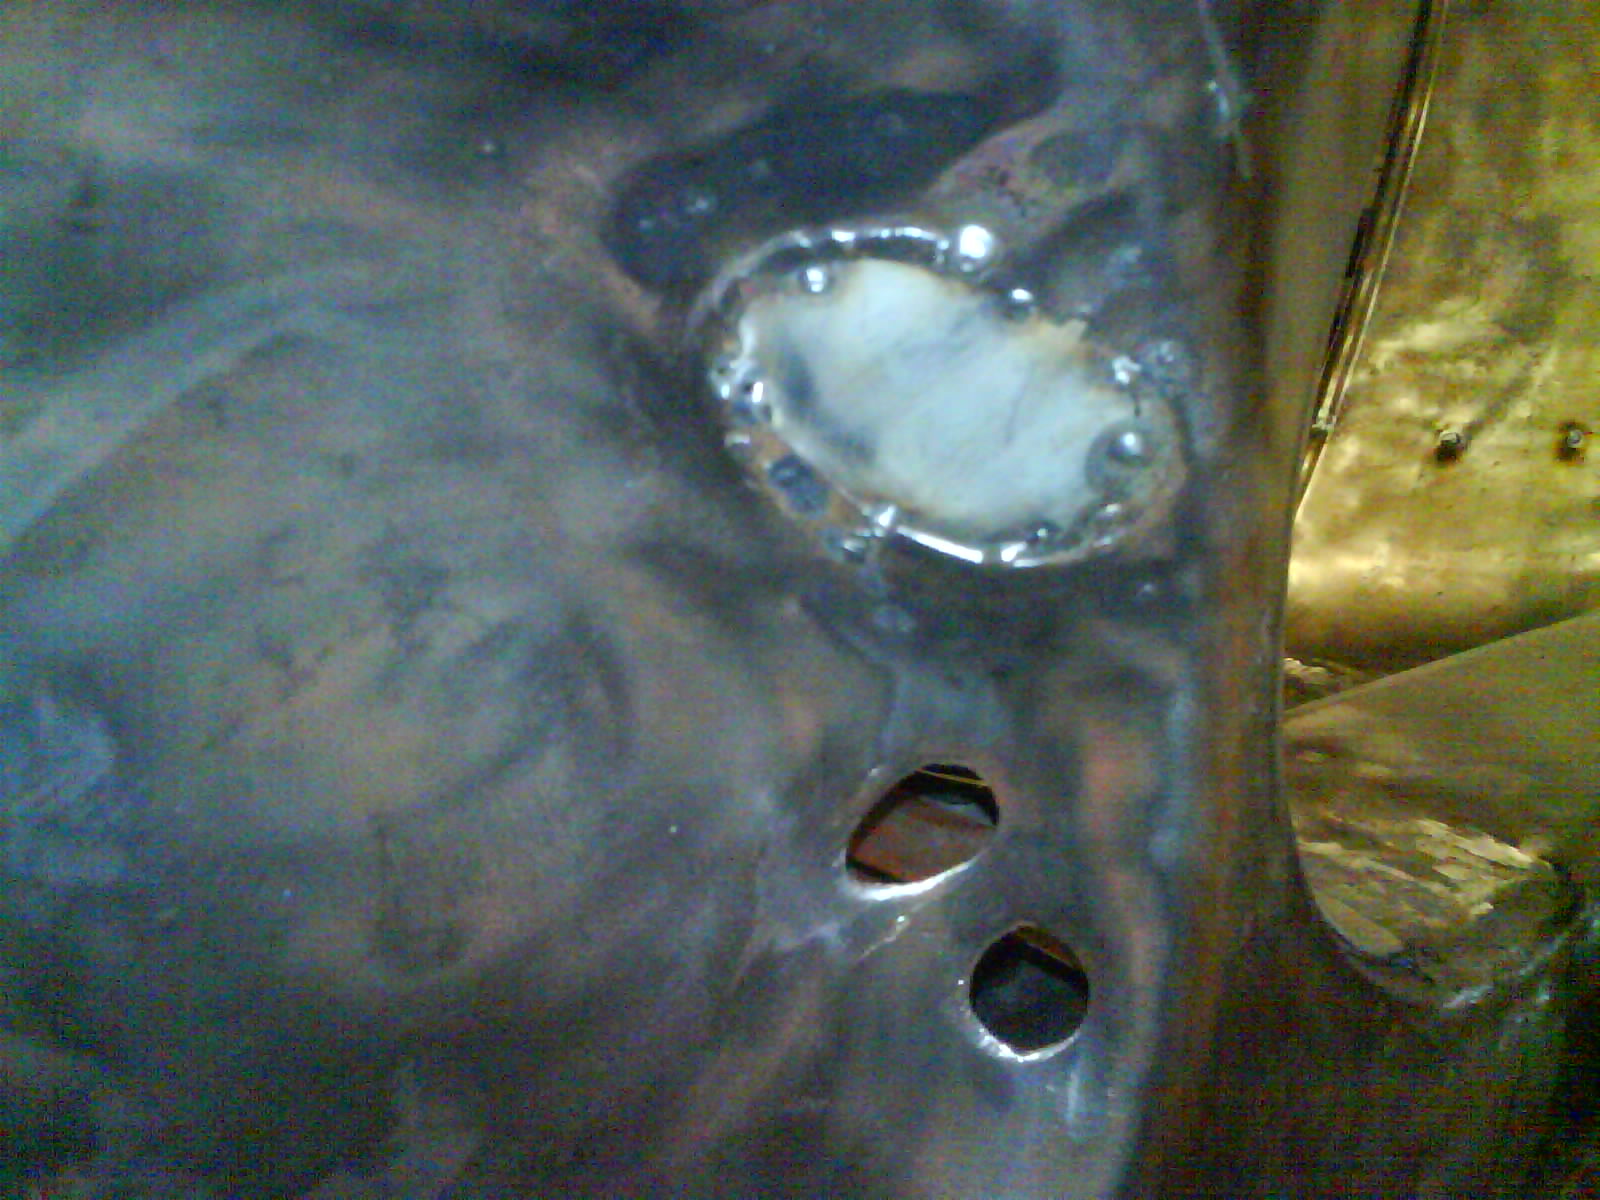
All the un-needed holes have been welded up such as floor
runner and badge holes as well as the choke and air hose intake, these could have been filled but filler is only being used
to skim over and smooth, the whole scoot will be good solid metal.
| Air intake welded up ready for grinding. |
|
| Back end deseamed and skimmed with filler! |
|
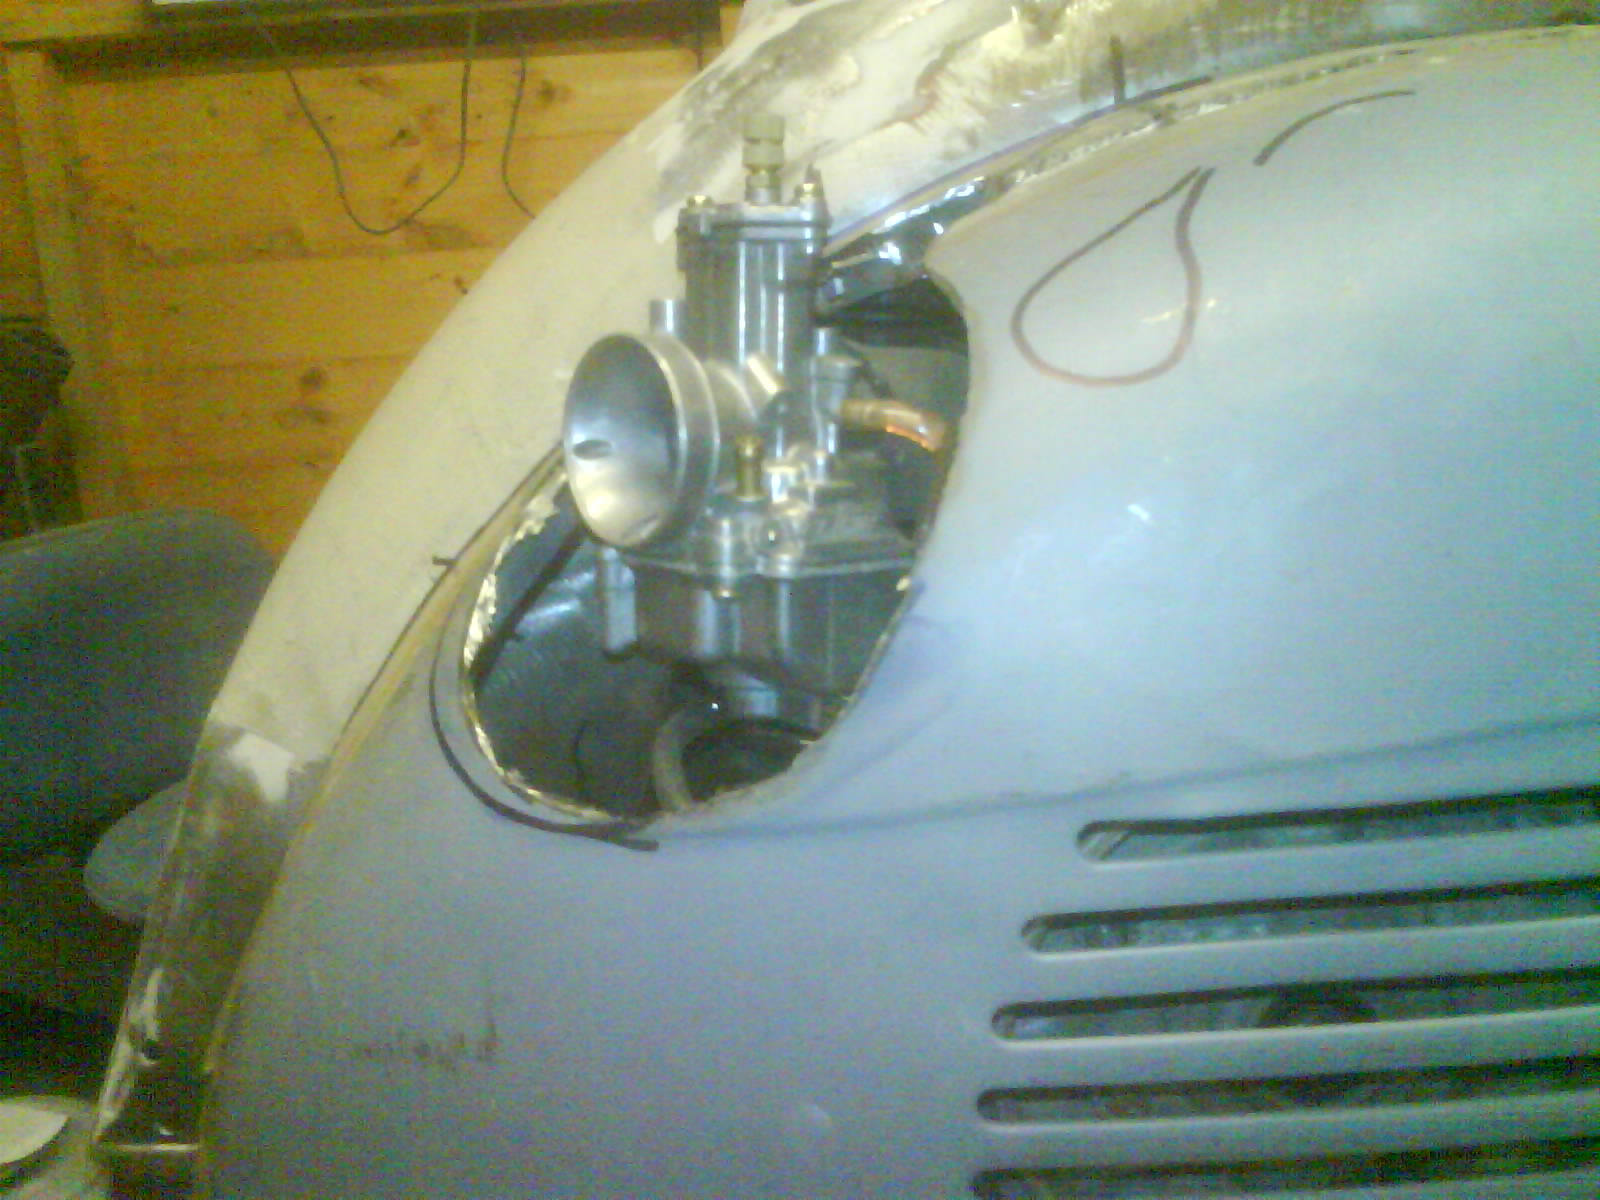
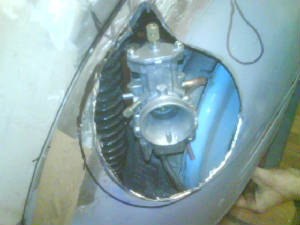
The scoots still a long way from finished but I've got the engine casings back so we've been able
to cut the panel out for the carb, I also decided to cut the frame to expose the rear shock, it should look pretty good
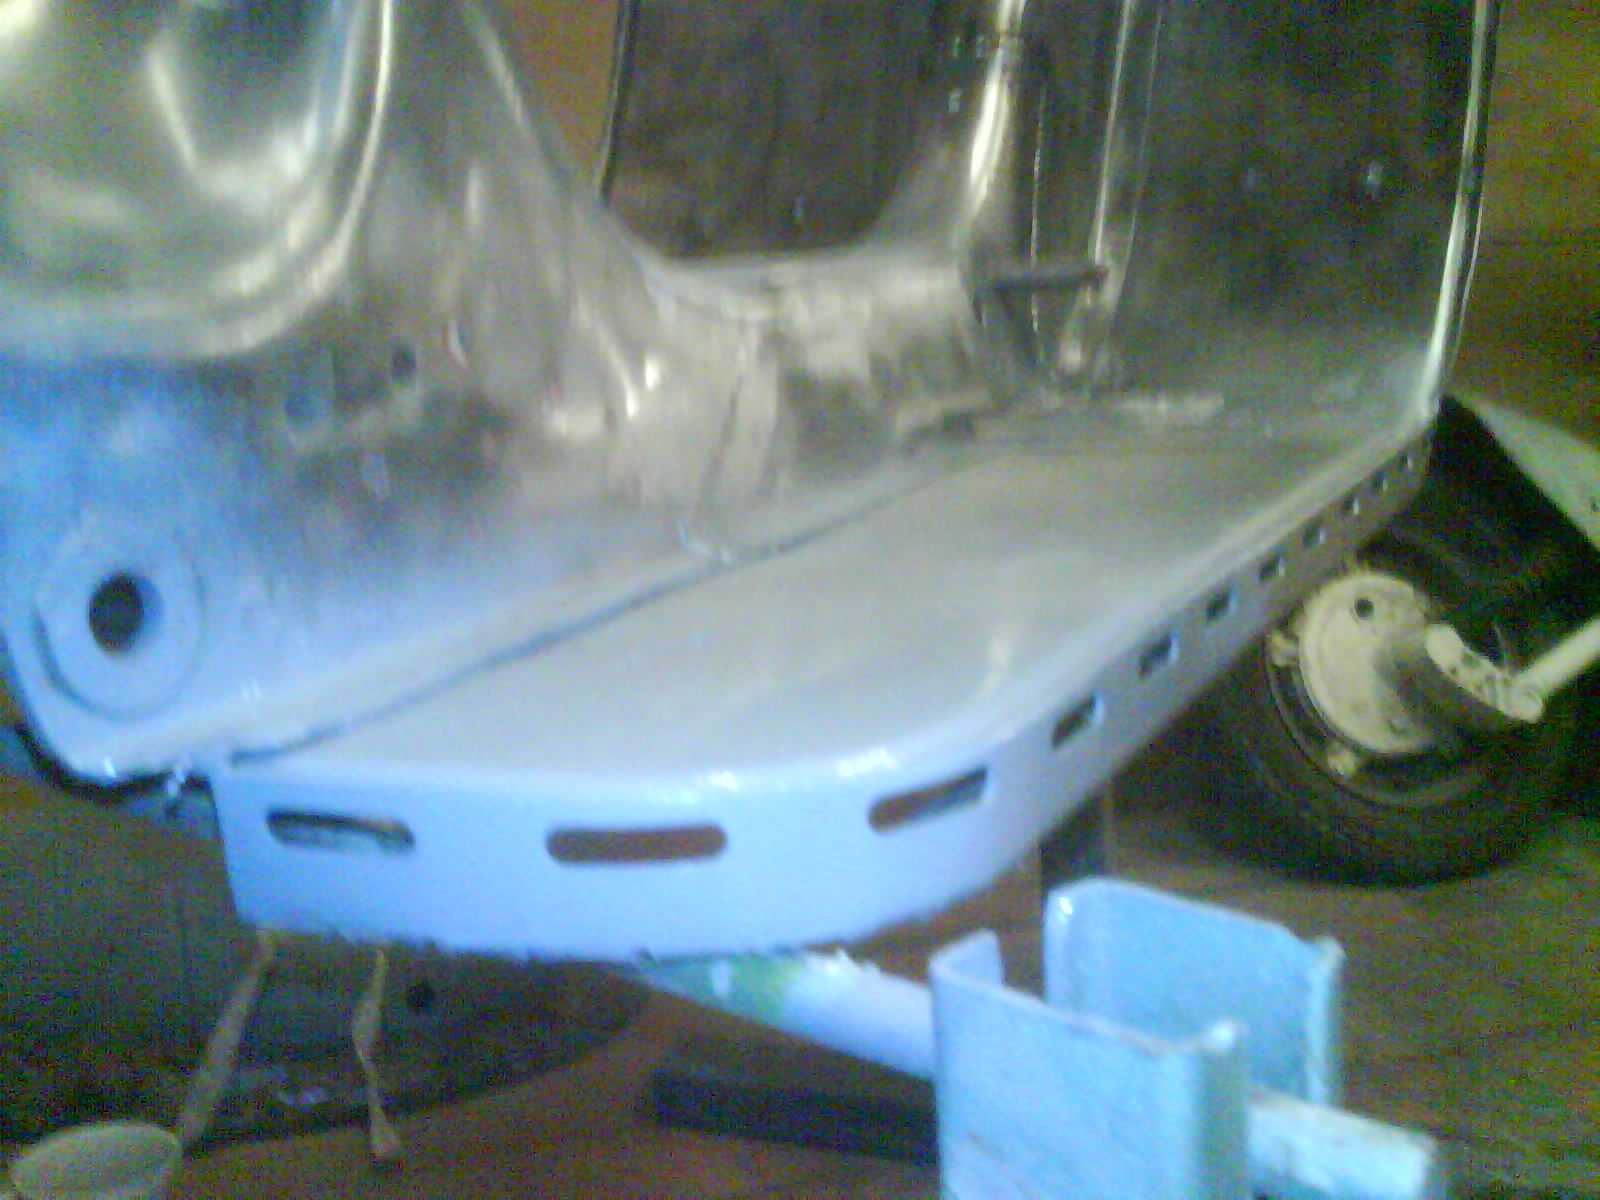
when its finished! I've also added a lip round the floor to give it a bit of depth, we used angled steel with slots in which
will then have some neon lights behind it! We've welded a lug on the forks for the new chrome steering lock (£9.99 from Beedspeed)
and I've bought the panel rubbers (£4.99 from Beedspeed) to check how they fit before spraying. I also picked a brake pedal
up for £2 on Ebay and a brand new chrome panel catch for £4.20 again from Ebay!
| Floor with lip welded on! |
|
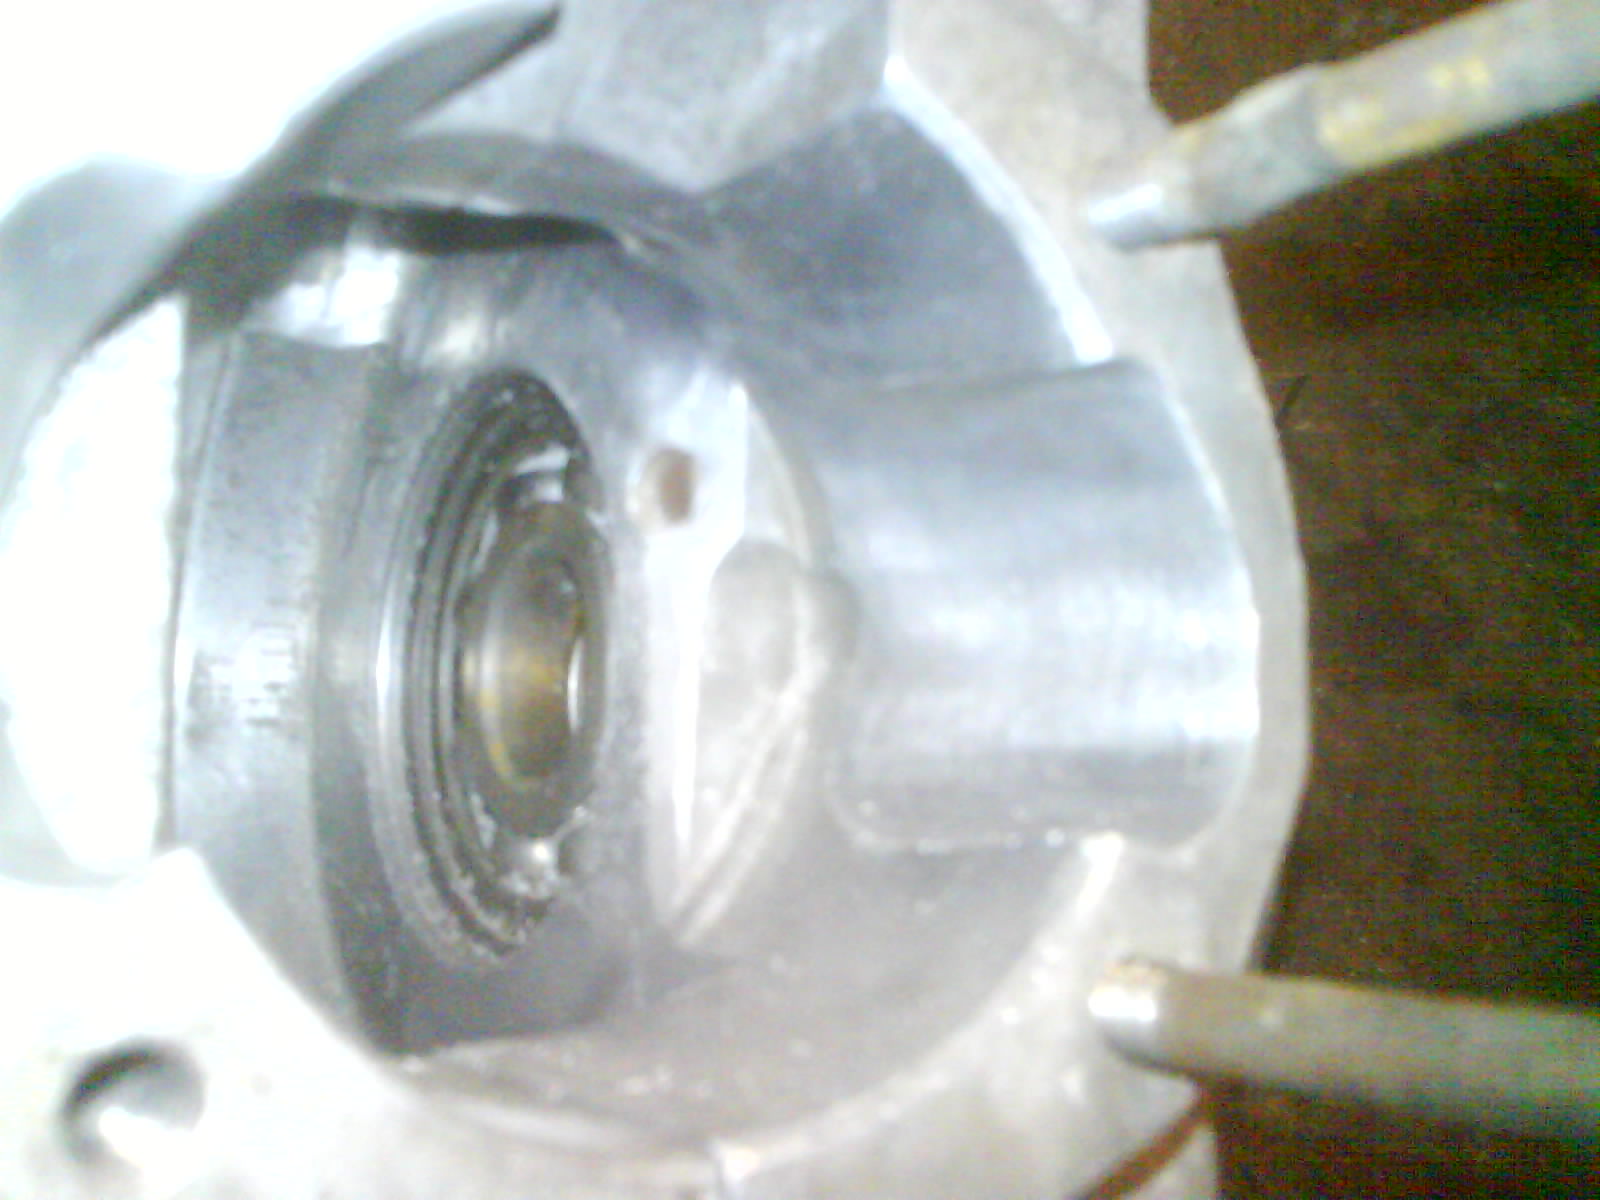
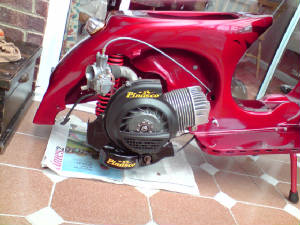
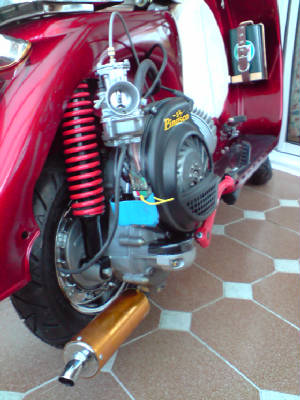
| Casings ported! |
|
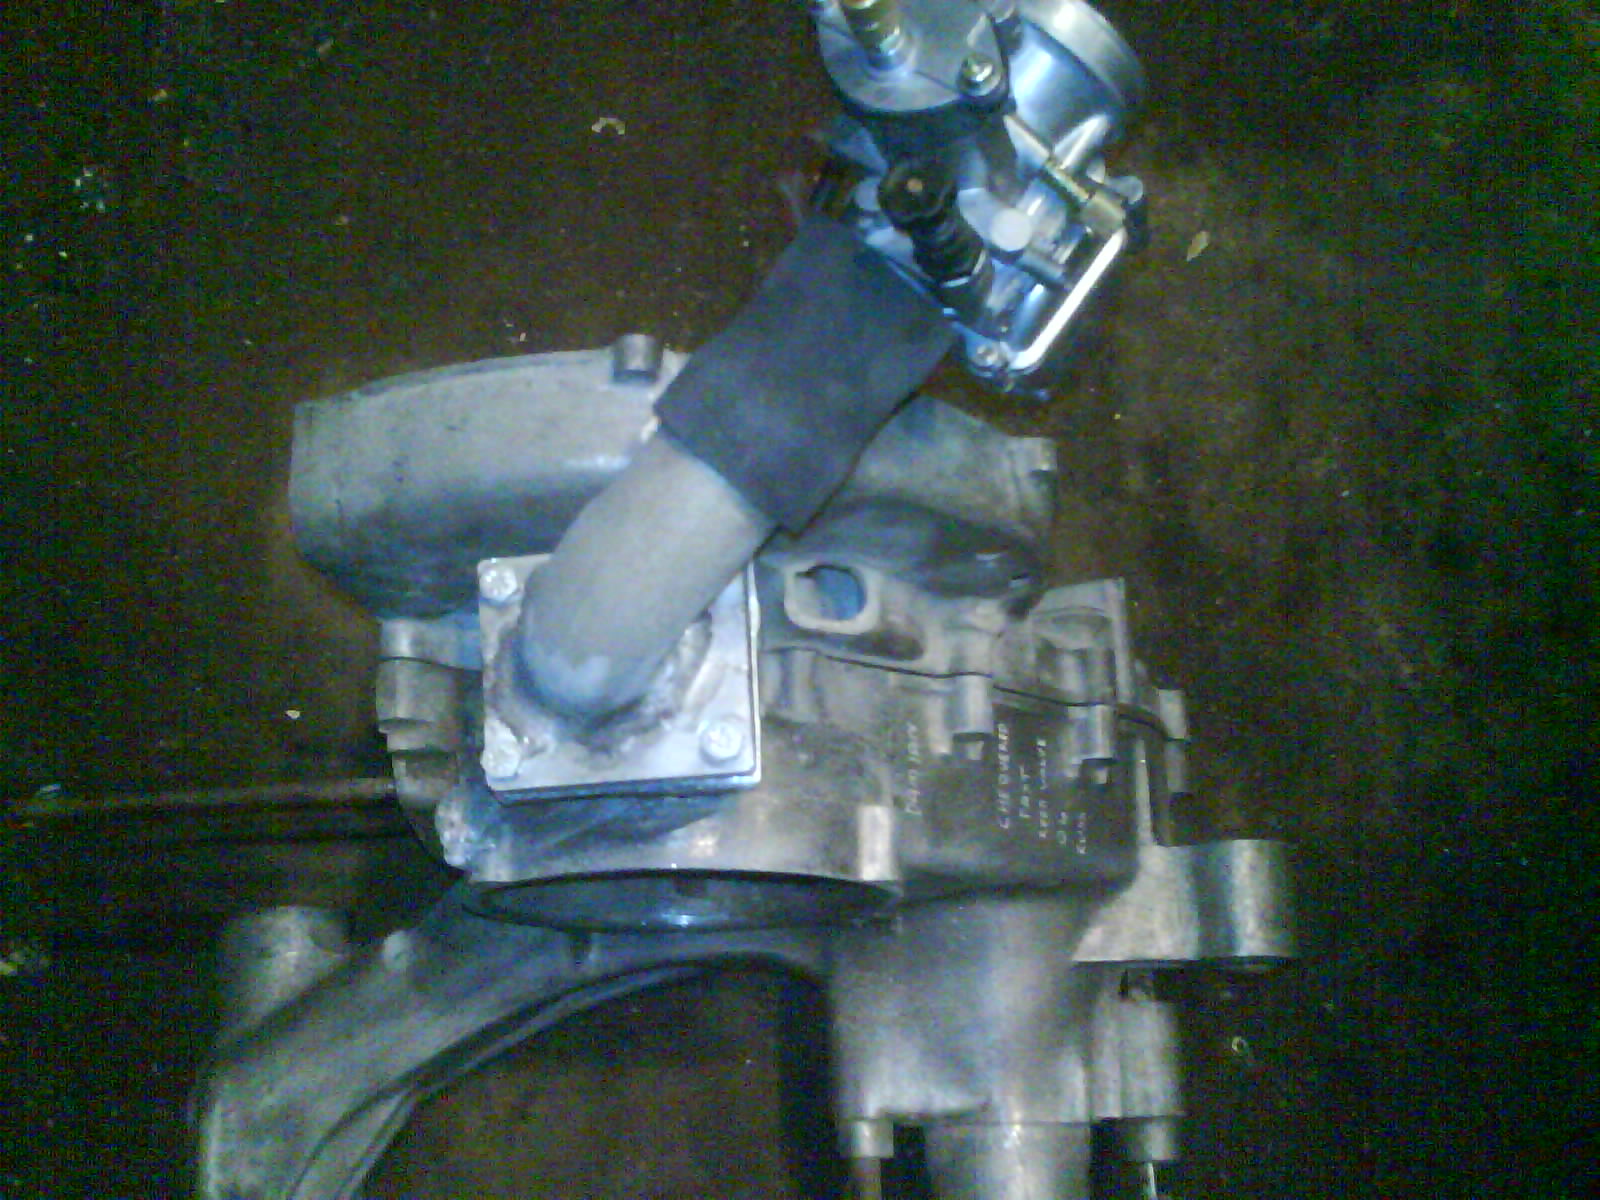
| Engine with RD250 reedblock and PWK carb! |
|
| Panel cut. |
|
| panel and frame cut! |
|
Work on the scoot has slowed down for a week or two, all the welding and filling is done, it
needs a bit of sanding and then it's ready for the 1st coat of primer. We did a dry build and everything seemed to fit
ok but I then decided to build a single wheel sportique trailer in the style of the PAV trailers from the 1960's/70's.
One word to Tim and he was on the case! A bit of steel for £3 from the army surplus, a set of brand new old stock sportique
panels for £50 from "My Generation" at Heanor and a spare set of T5 forks and Sebac shocker that were in the back of
my garage and we were in business! It's the same height and width as the scoot and will be sprayed in the same colour scheme,
watch this space!
| chassis coming together! |
|
| panels welded on |
|
| Trailer coming together, note the spare fuel can! |
|
I've not updated this section for a while but there's been a few changes! The frame, mudguard, forks
and headset are now finished and the panels are in primer. I got Tim to spray the headset as a back up in case the drops
didn't look right but having seen the headset it was too good not to use!
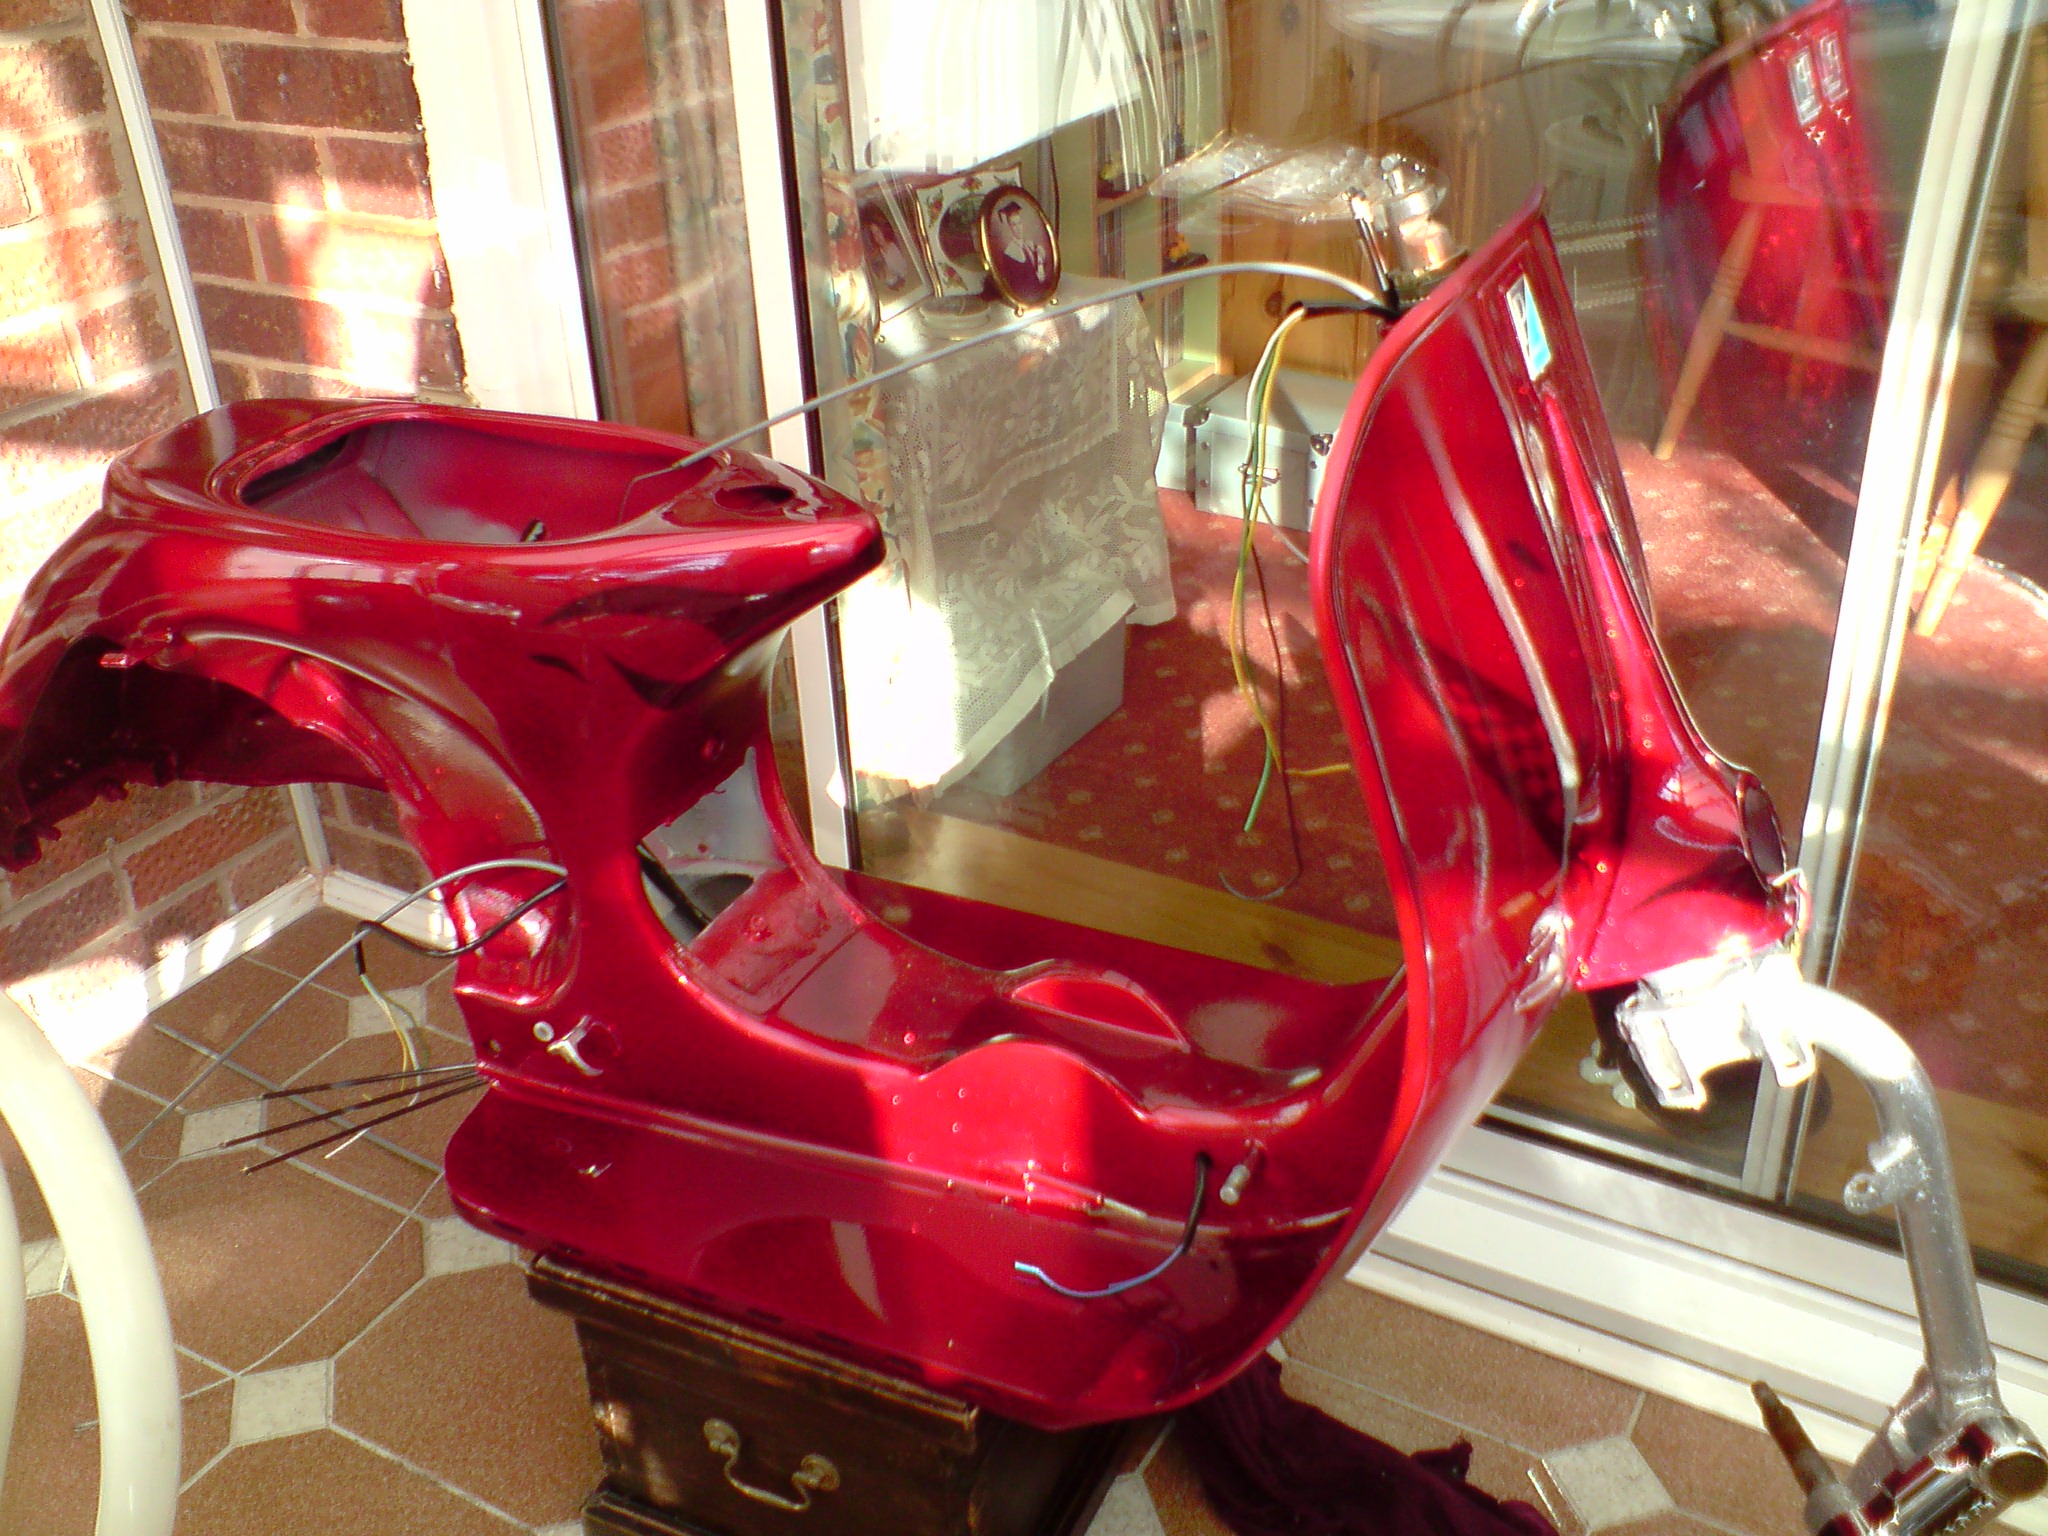
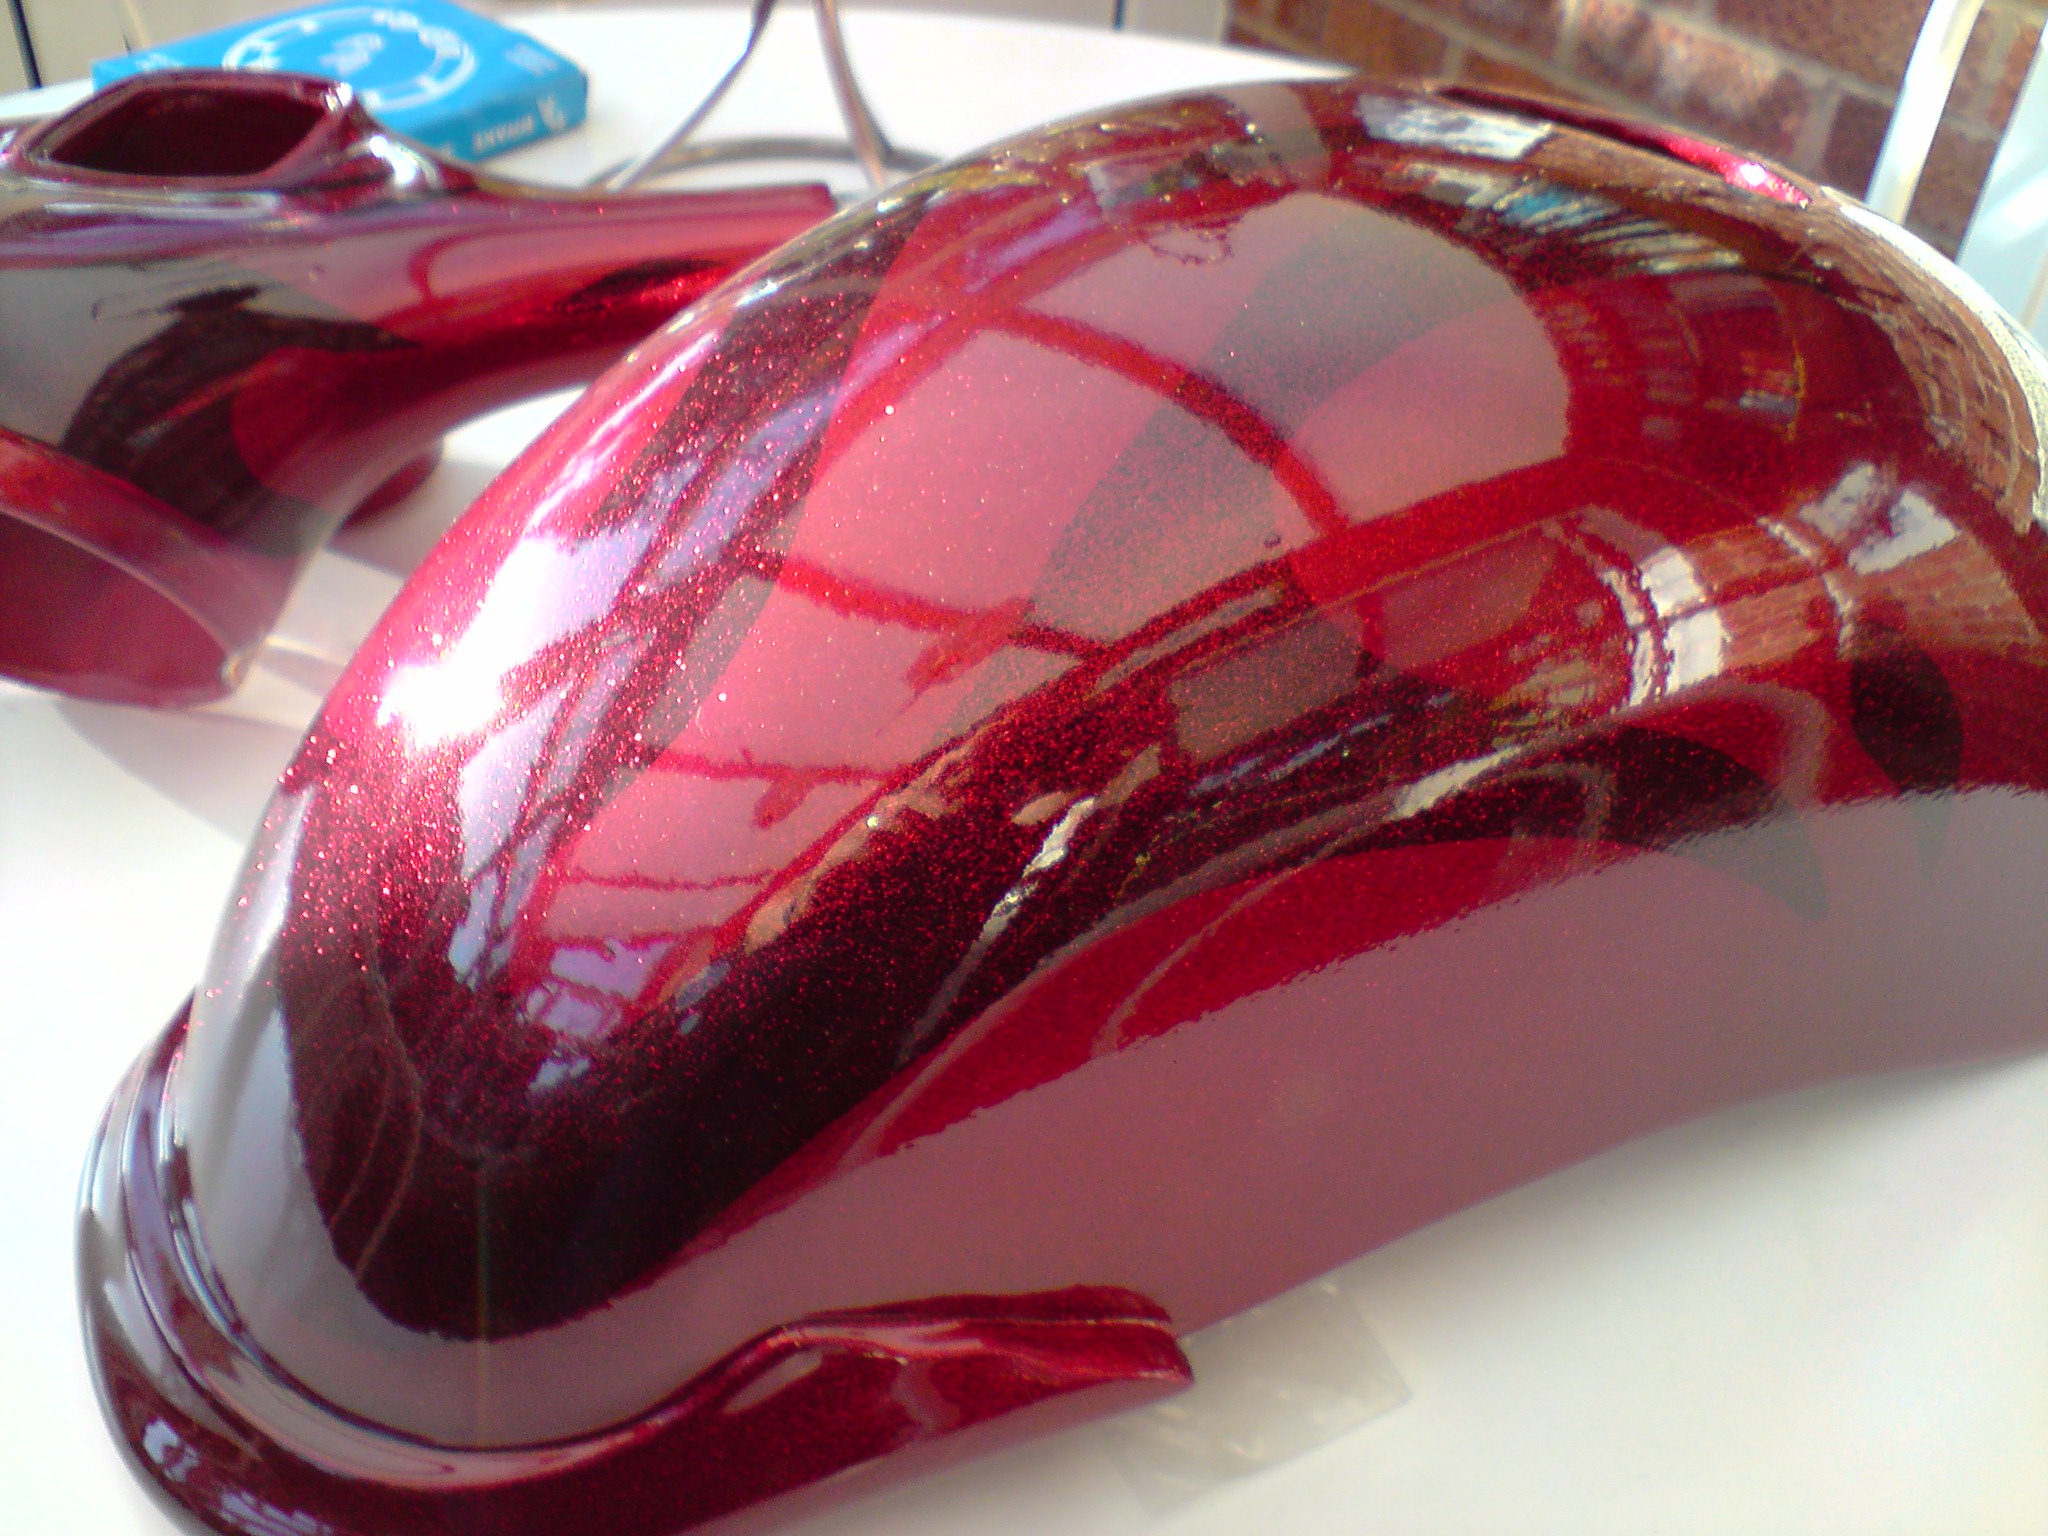
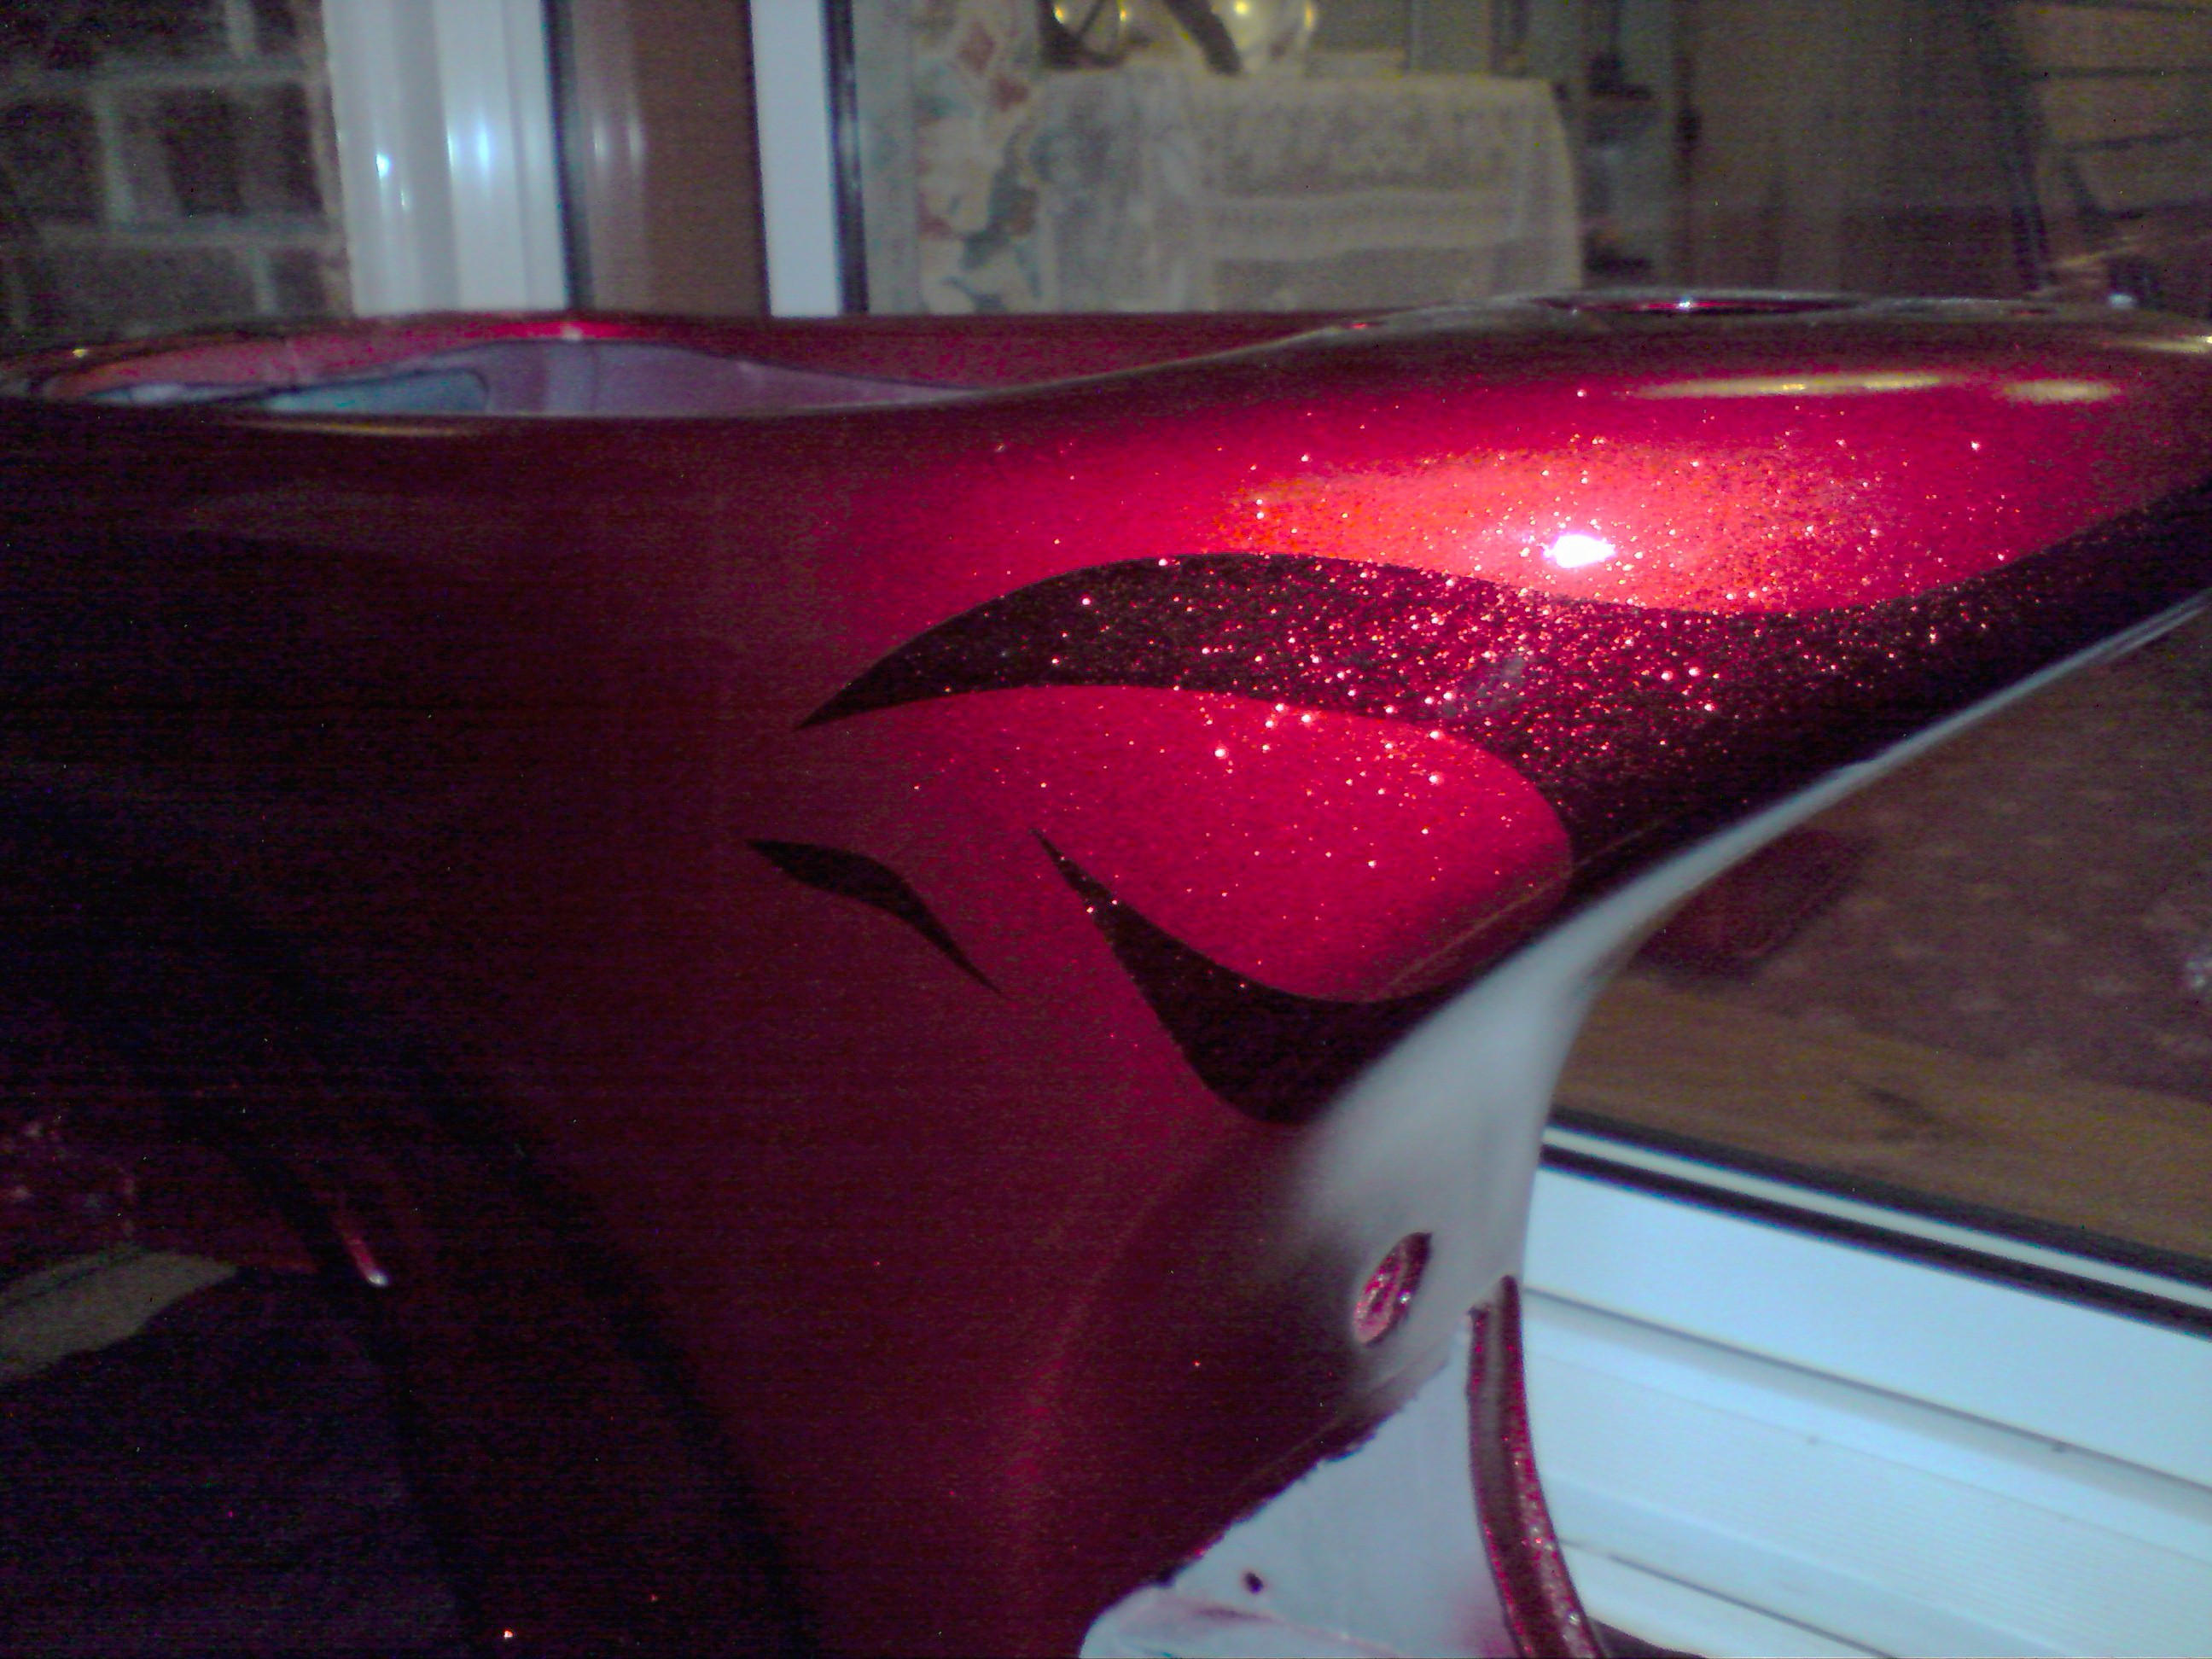
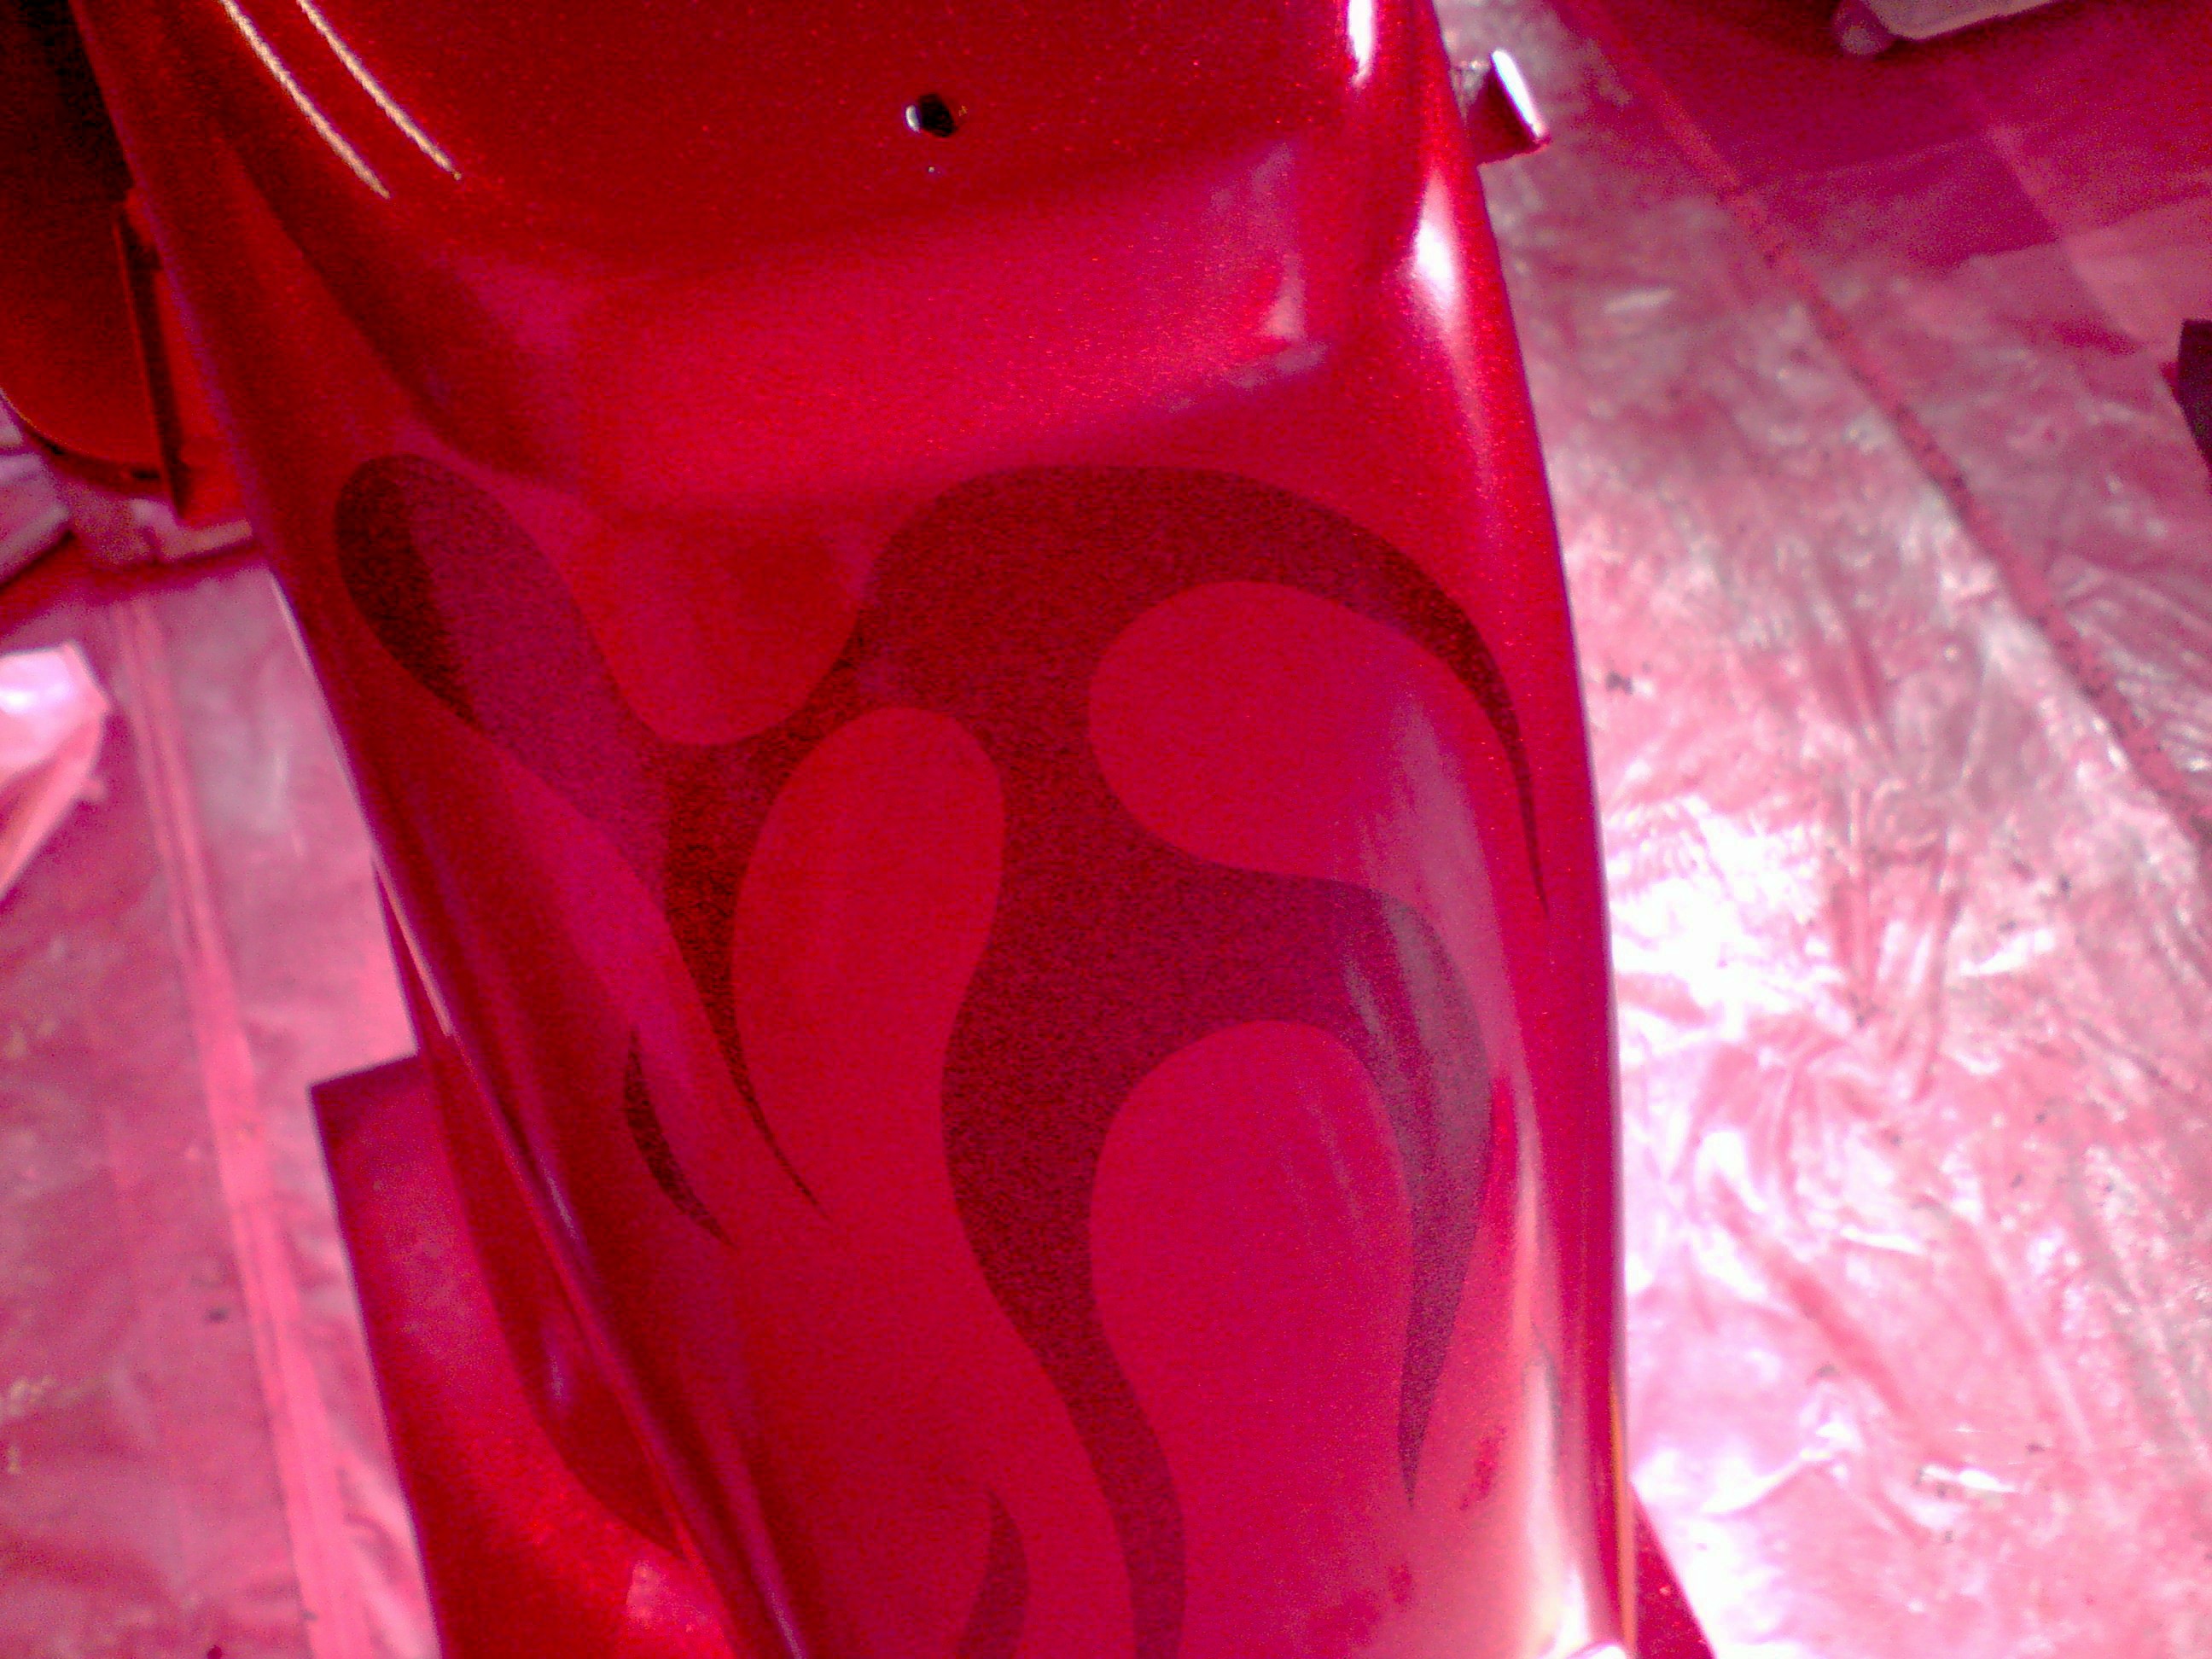
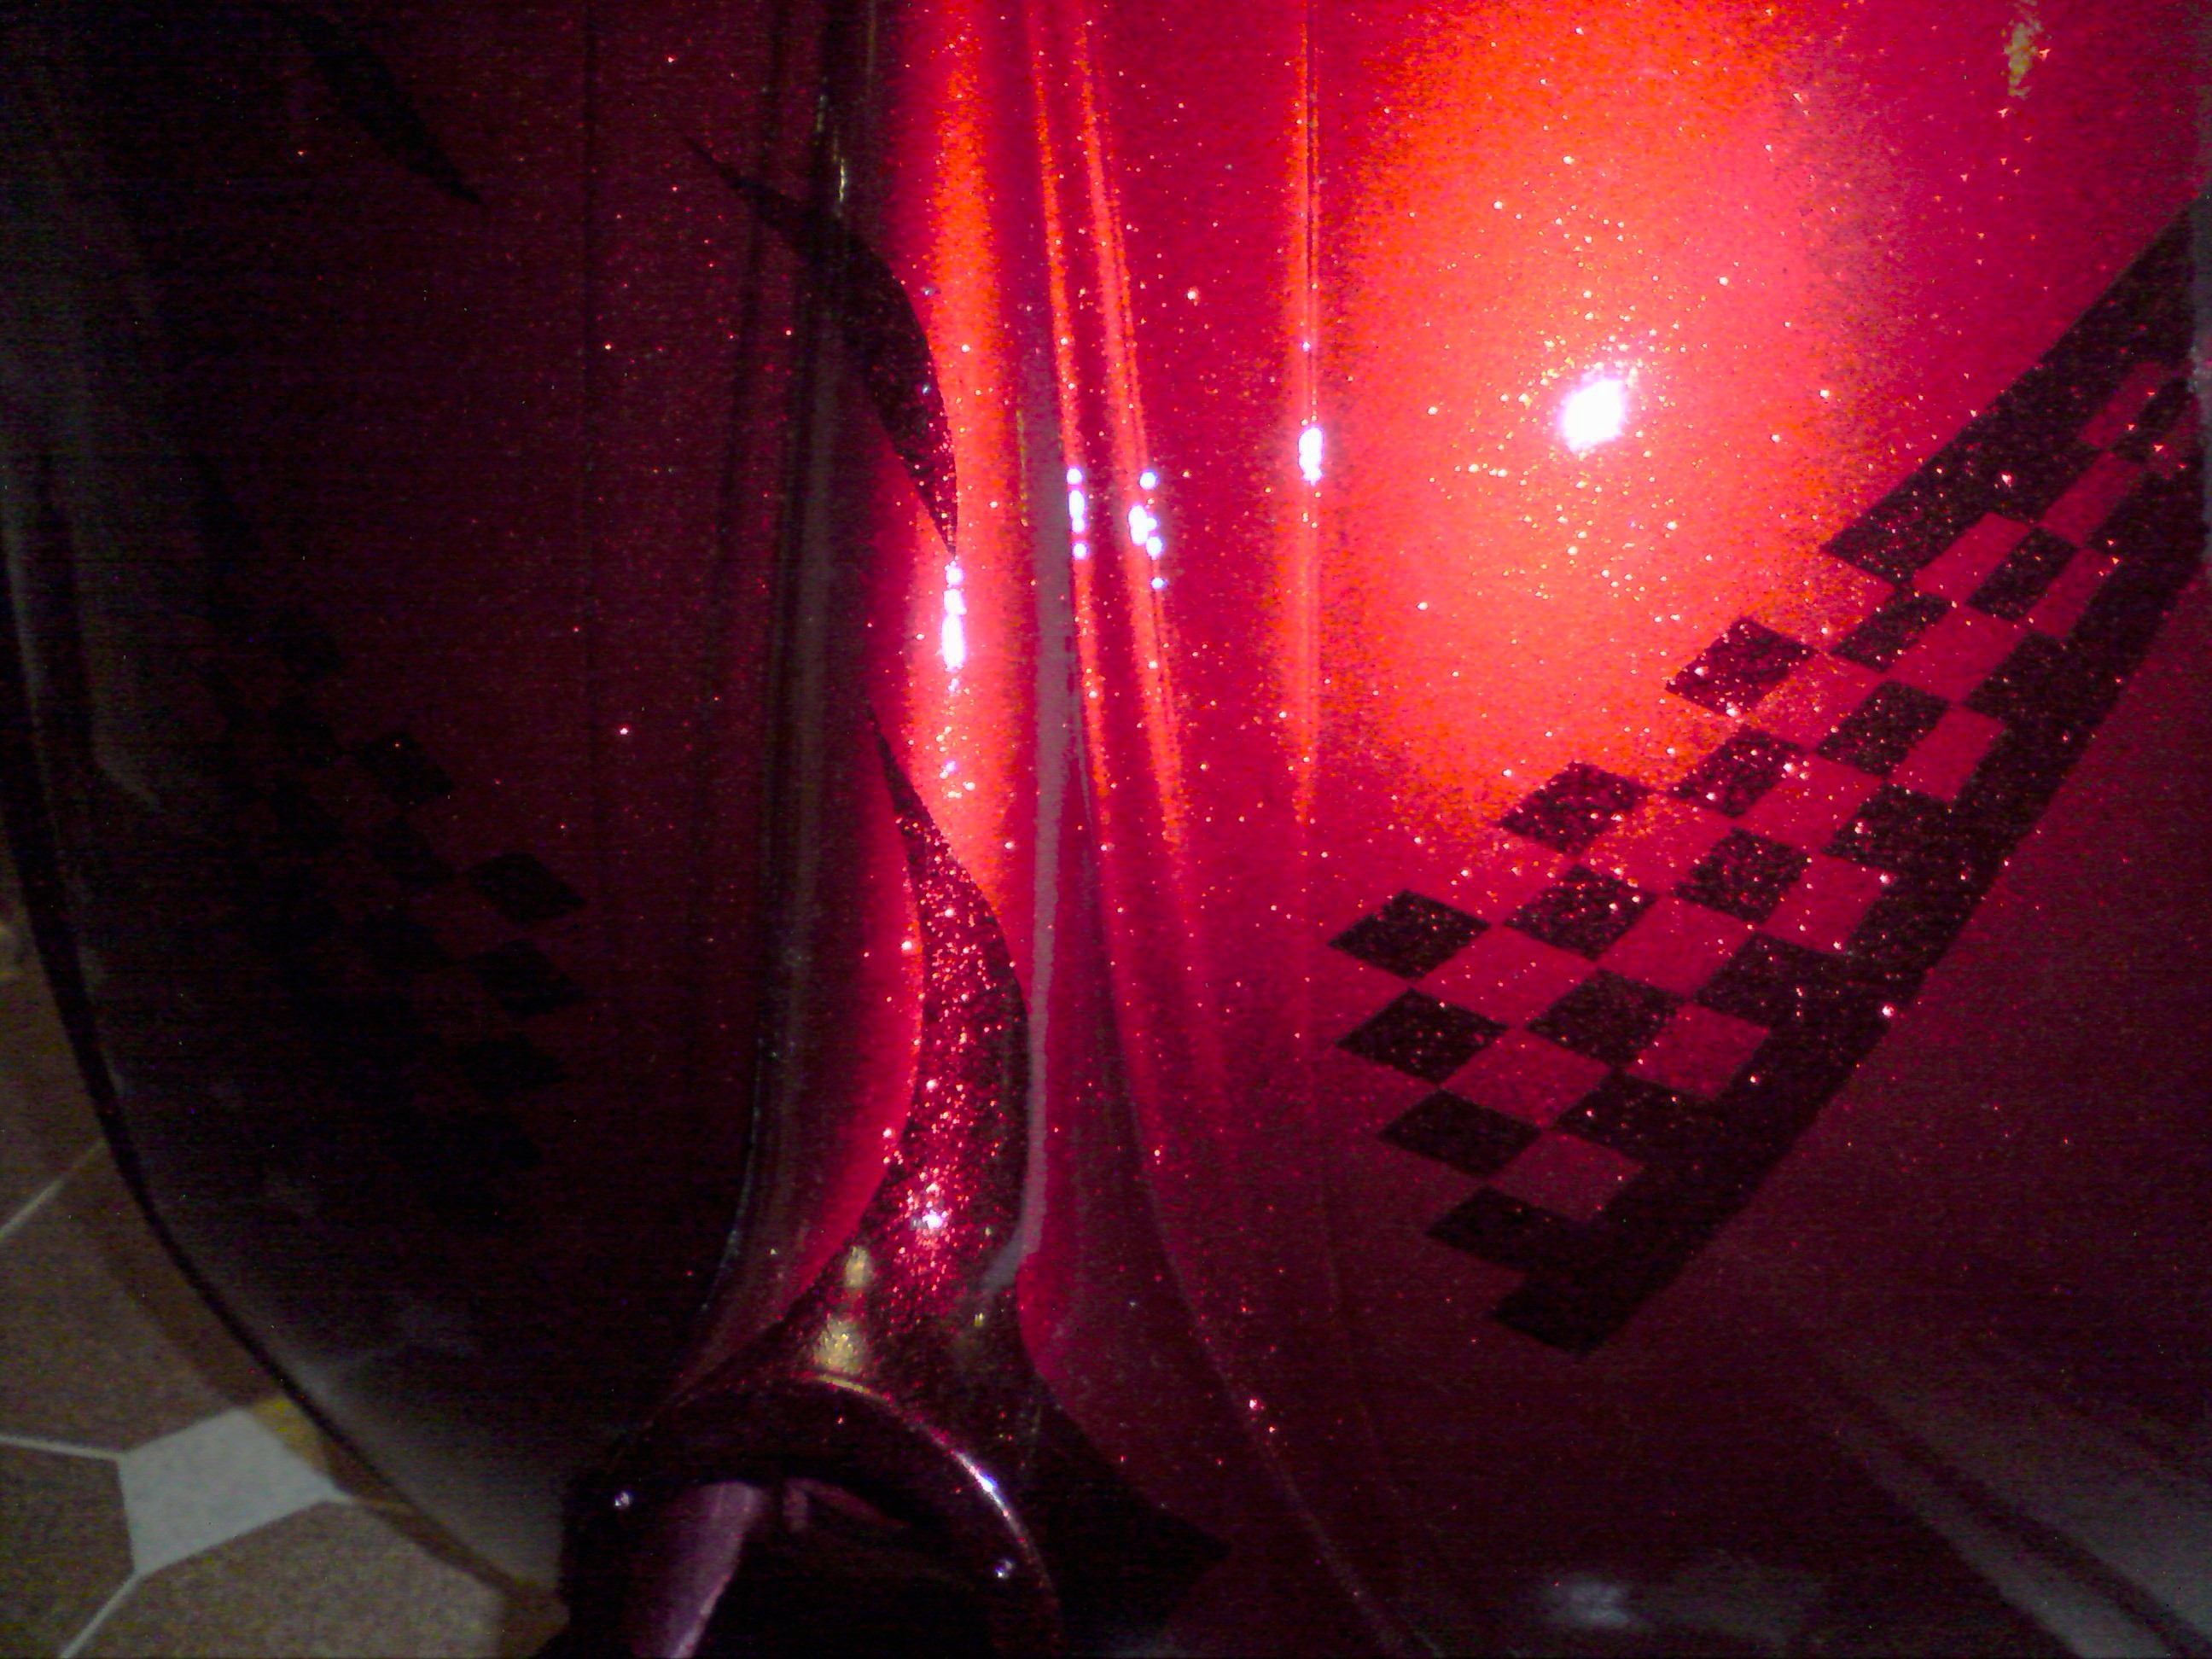
After priming a sparkle silver basecoat was applied followed by the flames and chequered flags in
black metallic, a couple of coats of tiger gold flake were then added followed by several coats of ruby red candy and then
a couple of coats of clear laquer for good measure! The end effect is amazing! The pictures don't do it justice, it looks
awesome outside in the sunlight!
Here is the frame in primer, looking good!
Frame again. This time in sparkle silver.
Graphics being applied
Masked off to apply the metallic black paint
Unmasking!
Now unmasked ready for flaking
Gold flake applied
Note the backend is now de-seamed and flushed!
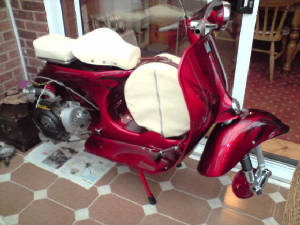
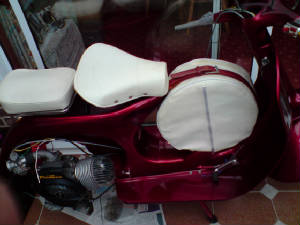
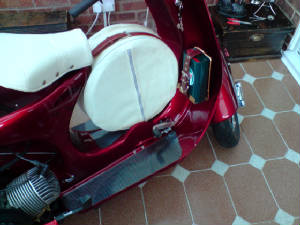
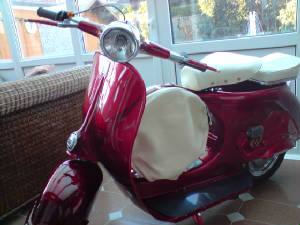
It's in red candy now and looks gorgeous! The seat's changed as well, I'm now going for twin seats
in cream with a matching inline spare wheel cover to give it a 1950's feel.
| Check out the inline spare wheel holder! |
|
| Mudguard with flushed in trim on the front. |
|
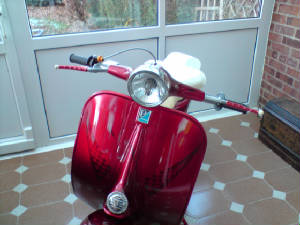
| Front of scoot. |

|

| Note the de-seamed back end! |
|
I've started putting the scoot together and it's looking pretty good. The wiring and cables are
in as well as the engine and front end.
| Front end |
|
| Engine |
|
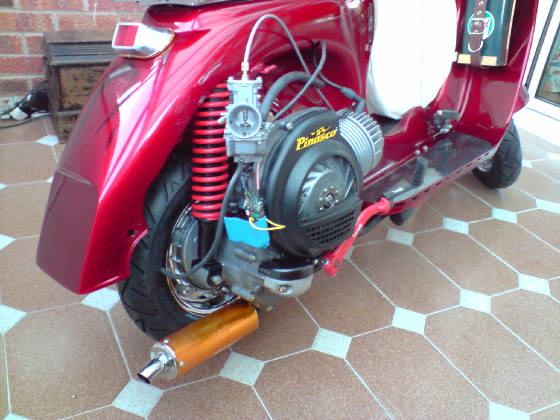
I've had it running and it sounds nice! All the lights work and it's now got wheels and tyres. I
went for chrome rims with Conti twist tyres. Just waiting for the panels and tank and a couple of bit bobs and it will be
ready for the dreaded mot! I've sent off for a dating letter so should be able to get a number plate for it soon. I've added
a bit of carbon fibre here and there to give a bit of a modern edge too it. The floor strips are stick on carbon fibre which
probably won't last ages but are cheap and easy to replace. The 1980's Buzzetti folding kickstart looks good now it's resprayed
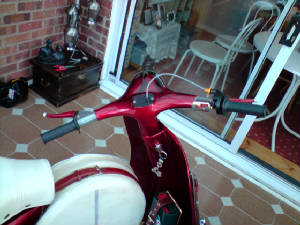
(thanks to Jane and Simon at scootgraphics for the Buzzetti stickers) And the quick action throttle gives it a sporty look.
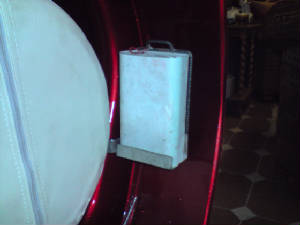
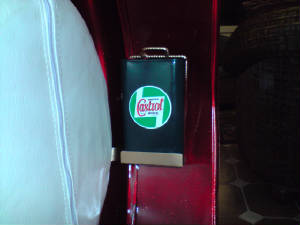
I've also made a retro style castrol 2 stroke can which is just an old thinners can sprayed green with stickers added and
a mounting bracket knocked up in the garage with a bit of scrap metal!
| 2 stroke can bracket |

|
| old thinners can! |
|
| Sprayed and stickers added |
|
I've changed things as I've gone along to suit the look of the scooter. I decided against the race
seat and drop bars which meant I don't need to use the fender light either, I've also added bits like the sidestand and the
quick action throttle. The beauty of doing a custom scoot is you can have it how you want it and not how it left the factory
and can change things as you go along. It might not be to everyone's taste but I like it and that's all that matters. Look
out for it in 2009!
| carbon fibre floor |
|
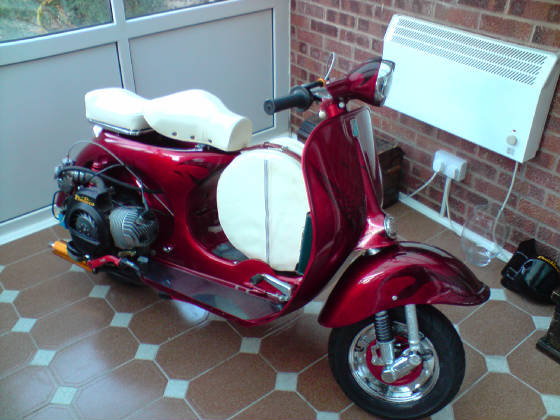
| Looking good! |
|
| Ready to roll |
|

| Just needs side panels for the full effect! |
|
| Quick action throttle |
|
| mudguard and forks |
|
The trailers taken a back seat while I get the scooter finished but it should be done for the summer
in the same colour scheme. All the scoot needs is the head cowl, a front light bulb, legshield trim and a digital speedo then
it's sorted. The carb will need jetting properly when I get it on the road, fingers crossed it should run ok! It's taken a
while but for a scoot that's been sprayed in a shed and built at home it's looking pretty good, I've got to tot up the
total cost but it's not a lot, somewhere between £1000-£1500, not too bad for a tuned custom scooter! Thanks to Tim for the
bodywork and spraying and Damion for the reedvalve and crank machining! Also thanks to the mrs for letting me spend hours
in the garage tinkering!
|